I'm a software engineer and database developer. Been working with computers for a while now. Formerly a jet engine mechanic in the US Navy, among other things.
There is lots of history in the surroundings as one walks along the Appalachian Trail. Around here in Maryland there are plenty of Civil War relects and battle sites. Yet, one thing one may not notice are stones – there are so many of them that they’re easy to ignore. Back when the New World was discovered and being conquered, land was one of the items people took for themselves. First to the Lords of the British Empire, then to the local governments and finally to individuals. These parcels needed markings and stones were used to mark the corners and important points on a line. Surveying was quite well established by the 1600s, and mapping as well so these corners were really important landmarks on maps.
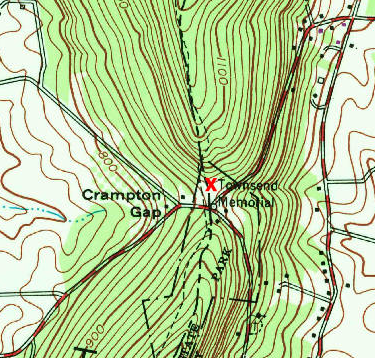
Map of Large Stone Location at Crampton Gap
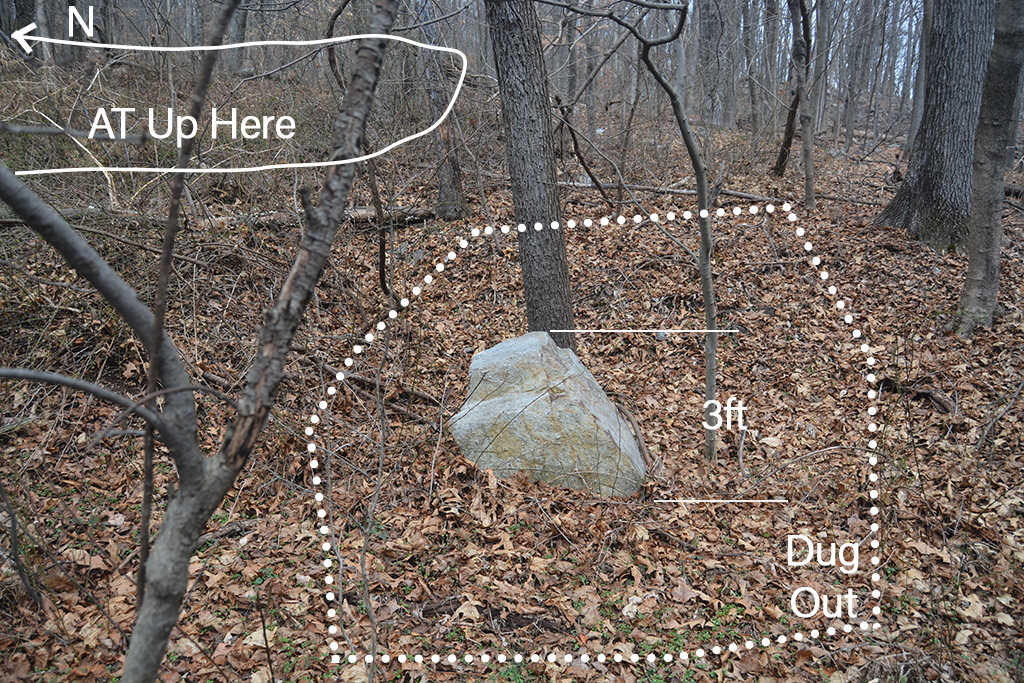
Some of these corners and stones are very important and are named stones. Examples of these would be the stones placed every mile on the Mason Dixon Line, the boundary marker stones every mile on the boundaries of Washington DC, and I think this stone at Gathland State Park – Crampton Gap. The reason I think so is it’s such as massive stone, it’s been placed in a level area that’s been dug out and happens to be on the Frederick County – Washington County Boundary. I walked by this stone for a few decades and never noticed it until now. But that’s not that it wasn’t there and is because I have my eyes open these days and recognize these stones right off.
There are many other property boundary line stones all around you as you walk along the Appalachian Trail. They are much easier to see during the winter time with out the leaves on the trees. It’s really much easier to see these after a couple heavy snowfalls have come and gone as the snow flattens down the leaf litter so the stones sort of pop out at you.
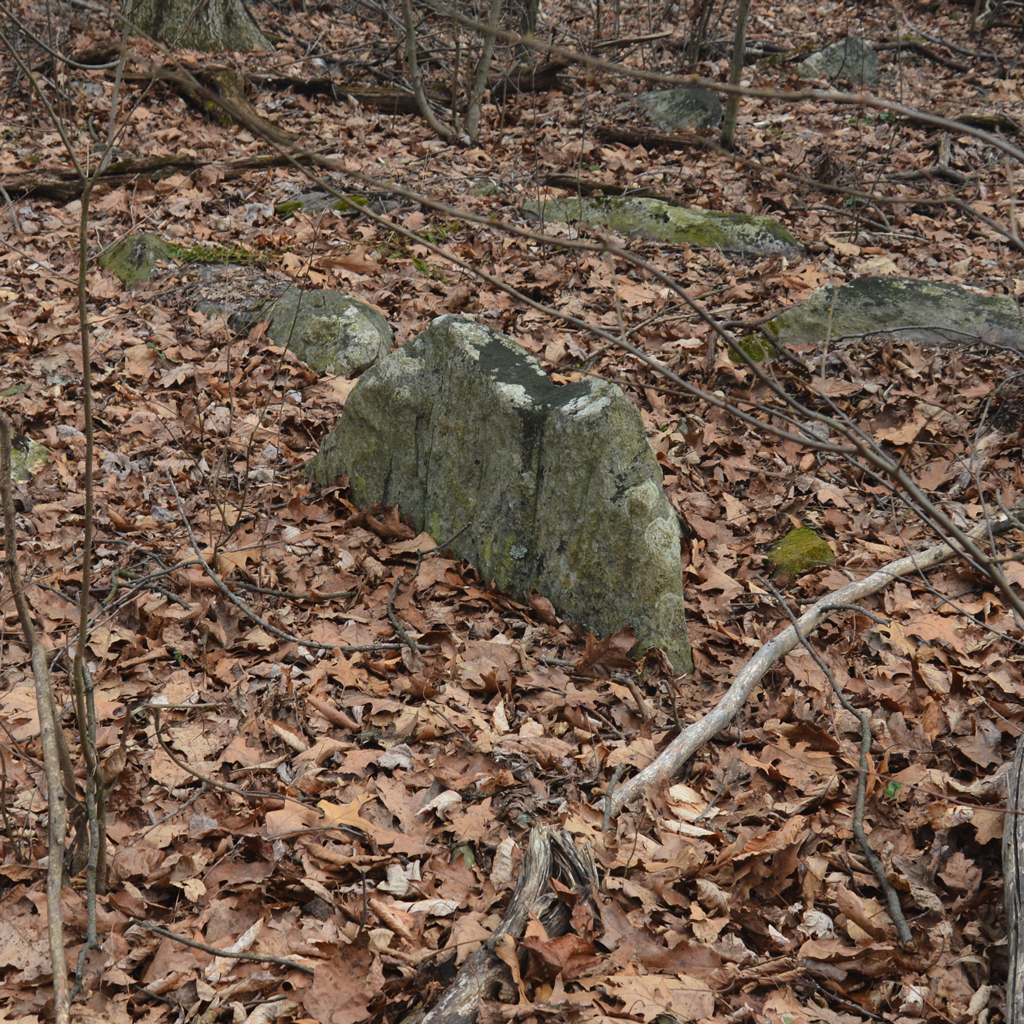
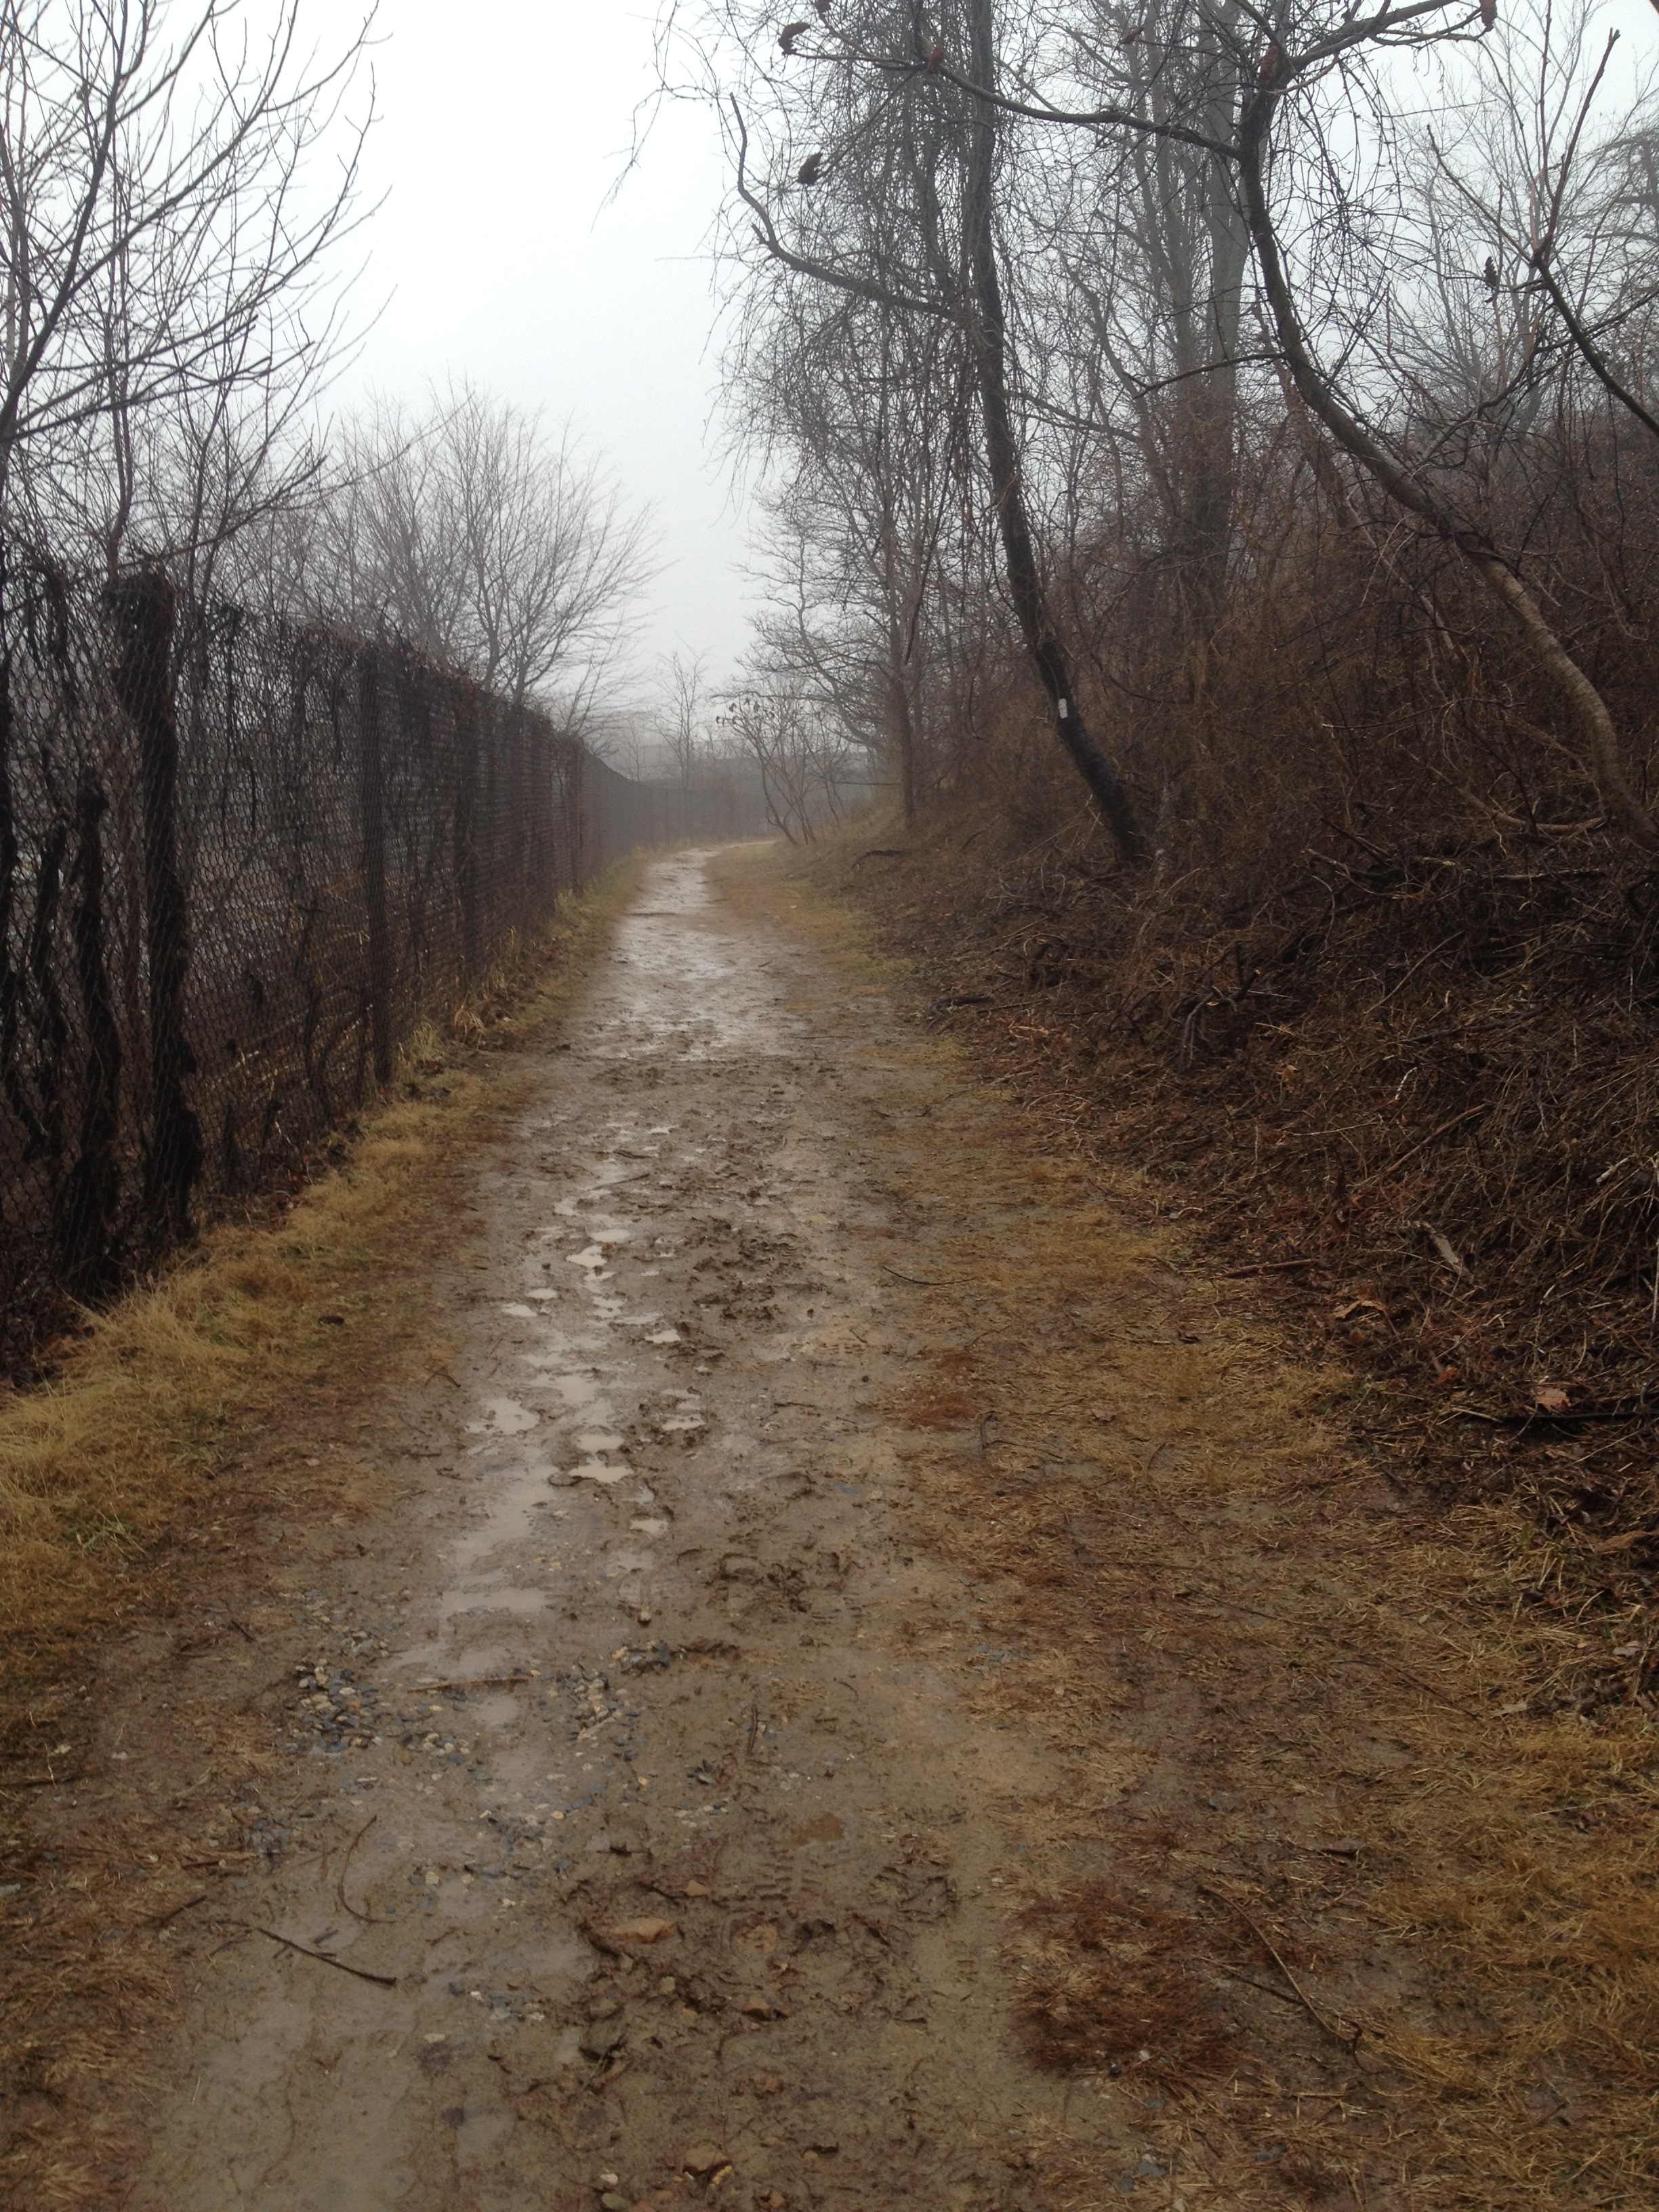
Here is a picture of another property boundary stone about 1 mile North of Crampton Gap on the east side of the AT about 50 feet from the trail. It’s after you reach top of South Mountain and the stone ridge top towers to the
Property Boundary Stone On Appalachian Trail East Side 1 Mile N Crampton Gap
east. What makes this stone stand out is it’s been ‘planted.’ If you we to drop a stone of that shape on the ground it would lay flat. Yet this one is standing vertically. If it were near a cliff or other source of falling stone, this arrangement might occur naturally. This stone was placed there by someone whom dug a hole and planted it. These types of boundary line marker stones are placed at important physical locations so they’d be easy to find. Here the pictures are of stones on the ridge tops. Boundary stones will also be found at the base of hills, next to streams and other permanent locations that one can find simply by looking for monuments (meaning something permanent that one can see).
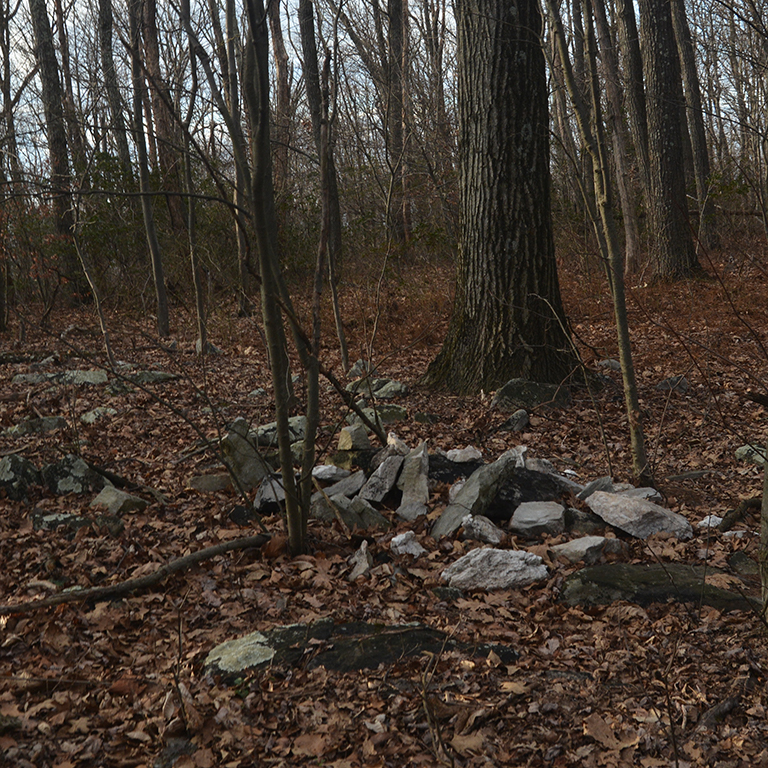
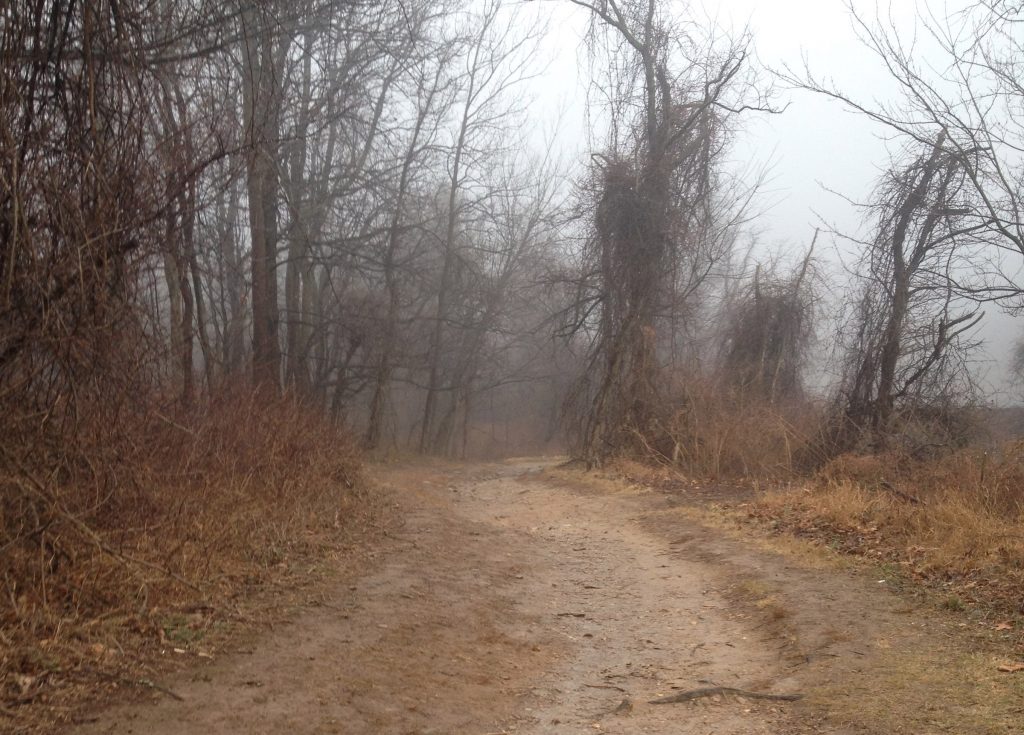
About 1 mile north of that marker stone about at the end of the section where you’re walking on the ridge itself and that trail tread is rocky is another boundary marker stone shown below. Look to your left when walking north (so west side of AT) about where the trail begins to slope downhill and the trail returns to a dirt tread and you’ll see this stone. Around it are piled a few pieces of white quarzite to it really stands out. This is perhaps a great stone to be your first find as the white stones really draw your attention to it. Yet, I’d guess most folks walking on the Appalachian Trail here don’t even notice this boundary stone when passing by.
Property Boundary Stone Near Bear Spring Cabin Trail
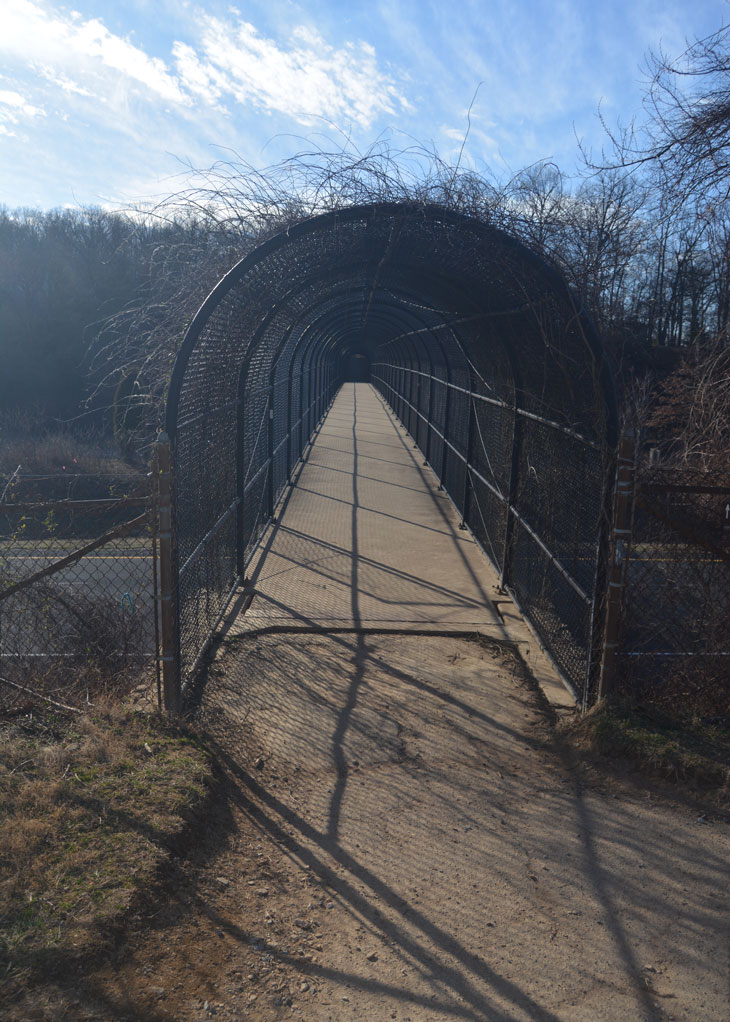
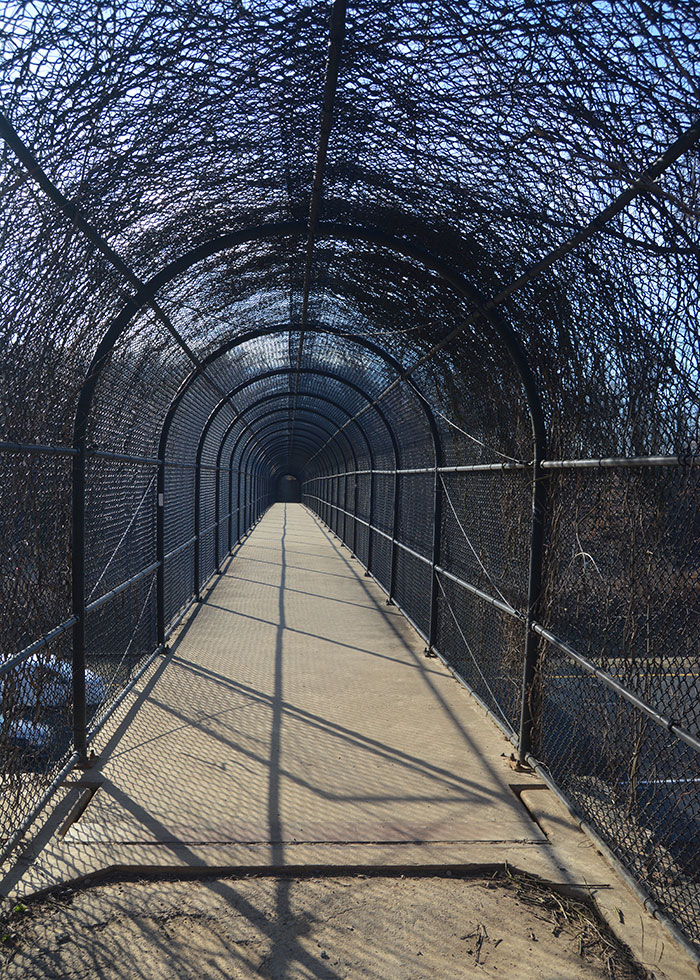
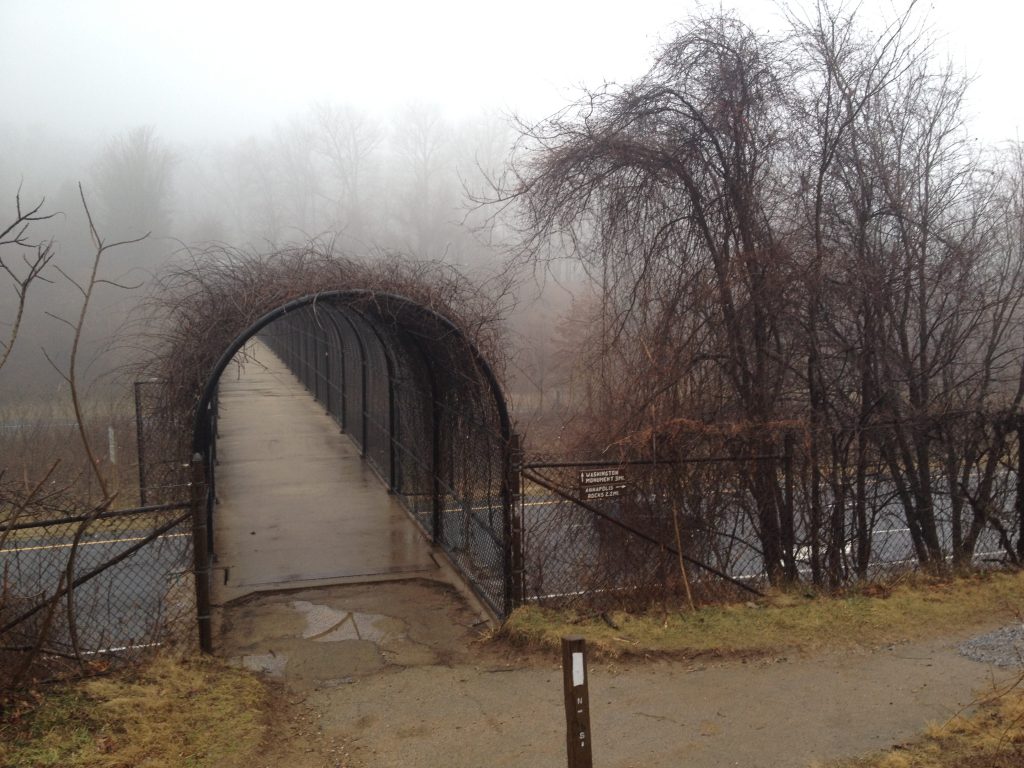
This footbridge is often the first thing someone sees when they arrive at the Appalachian Trail (AT) in Maryland for the first time. This location nears Myersville, MD is close to the I-70 Freeway so has access, close to a popular park so has attention and has a scenic overlook at Annapolis Rock within a reasonable 1 hour one way walk with moderate difficulty.
Lots of folks walking on the Appalachian Trail have their picture taken here. Seems to me that’s not really what the Appalachian Trail is about and there ought to be something that is a better background then the bridge.
But if you get here at the right time, ignore the Appalachian Trail part, it does make an interesting picture.
Appalachian Trail Foot Bridge I-70 Freeway in Maryland
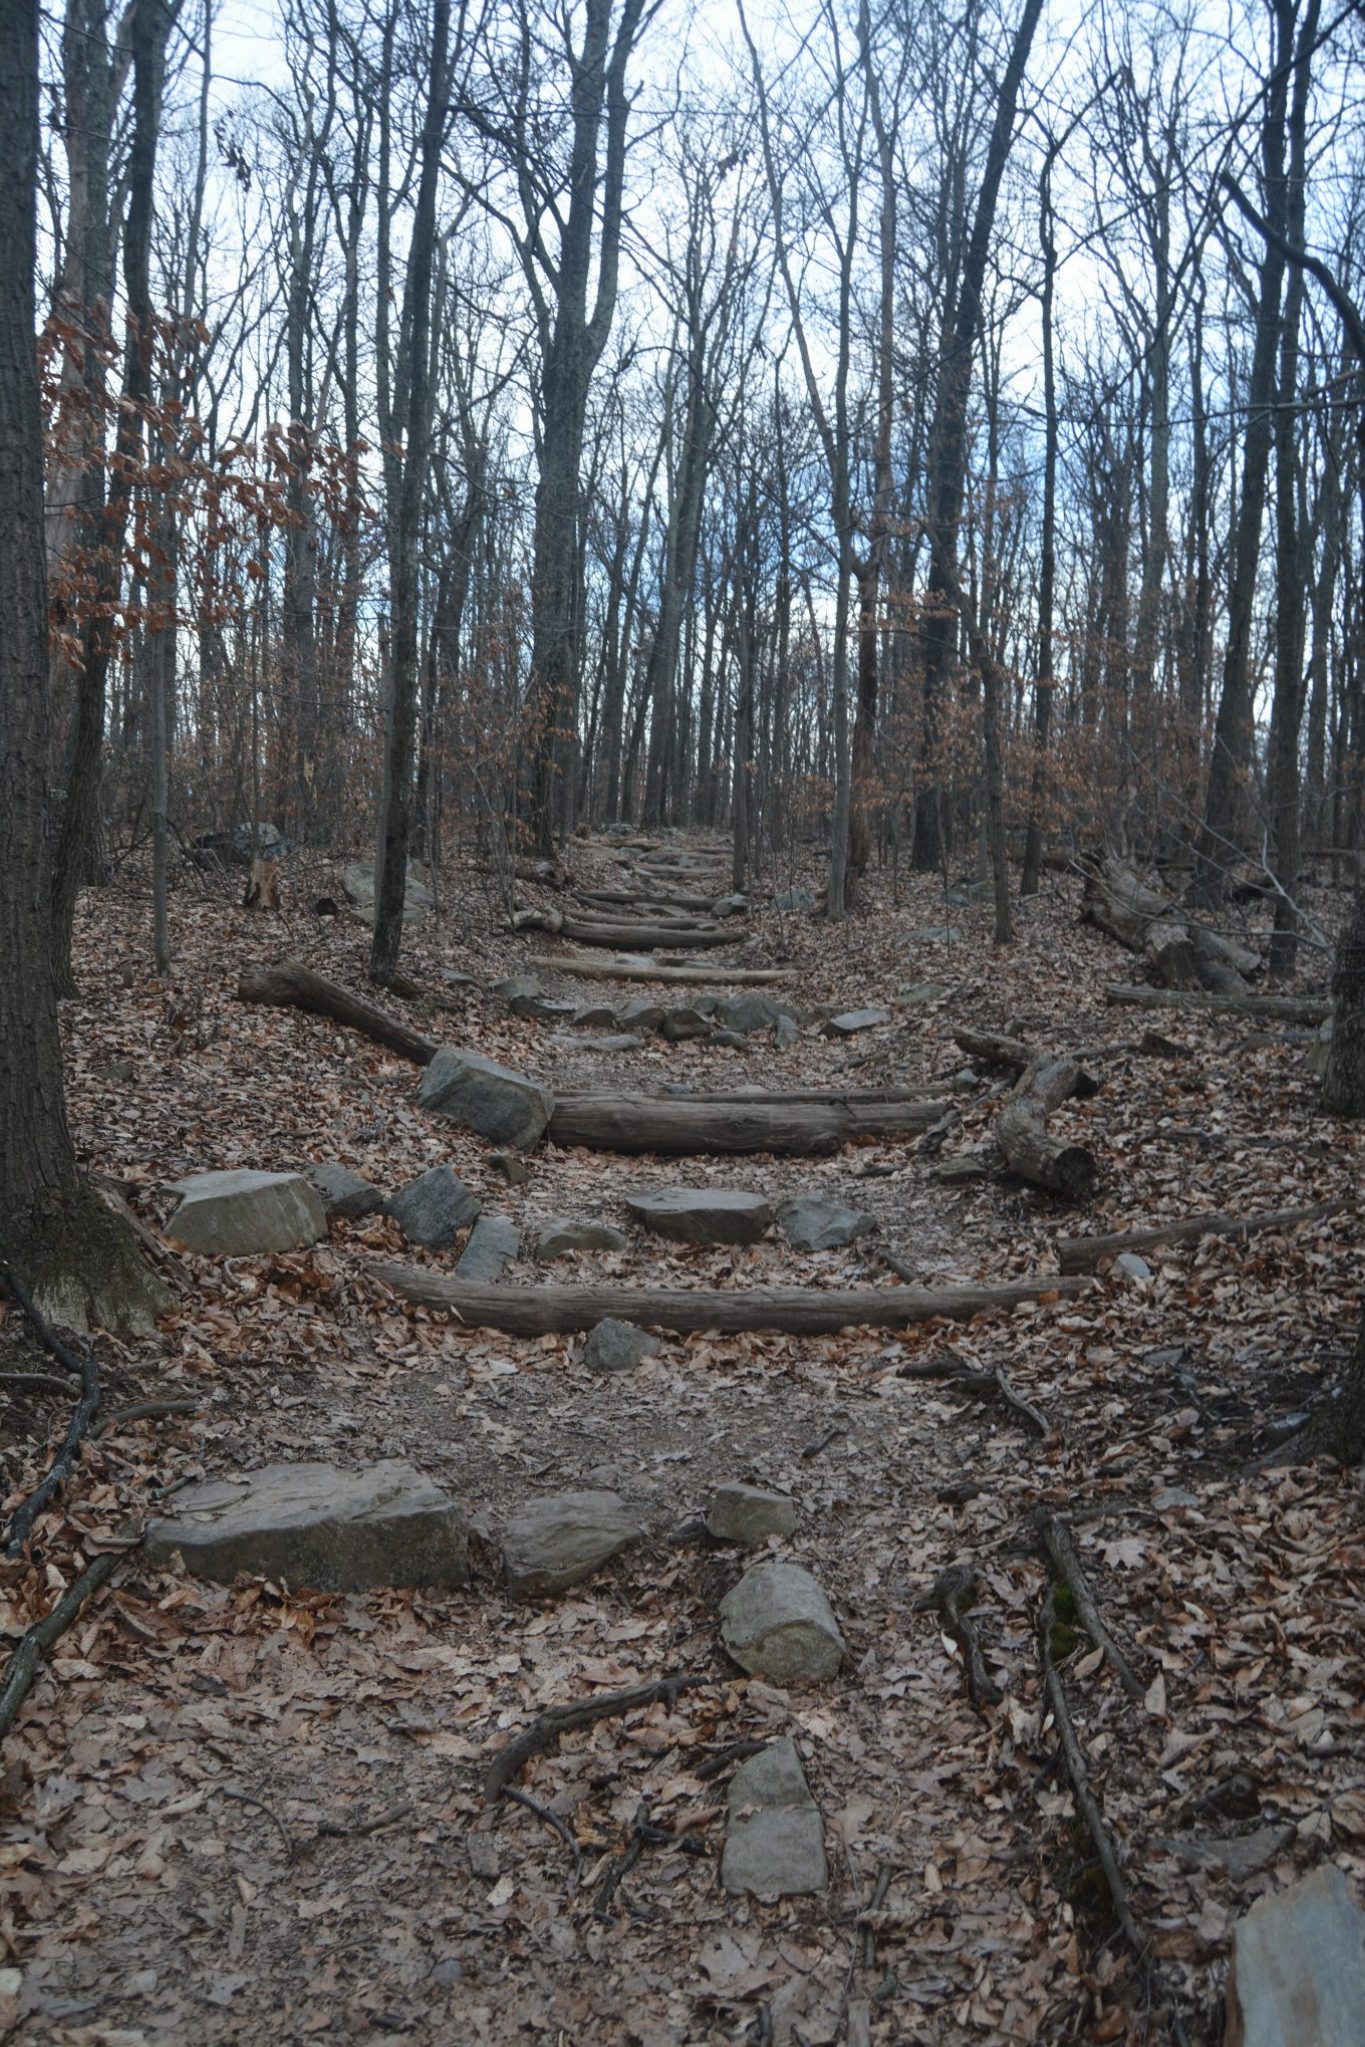
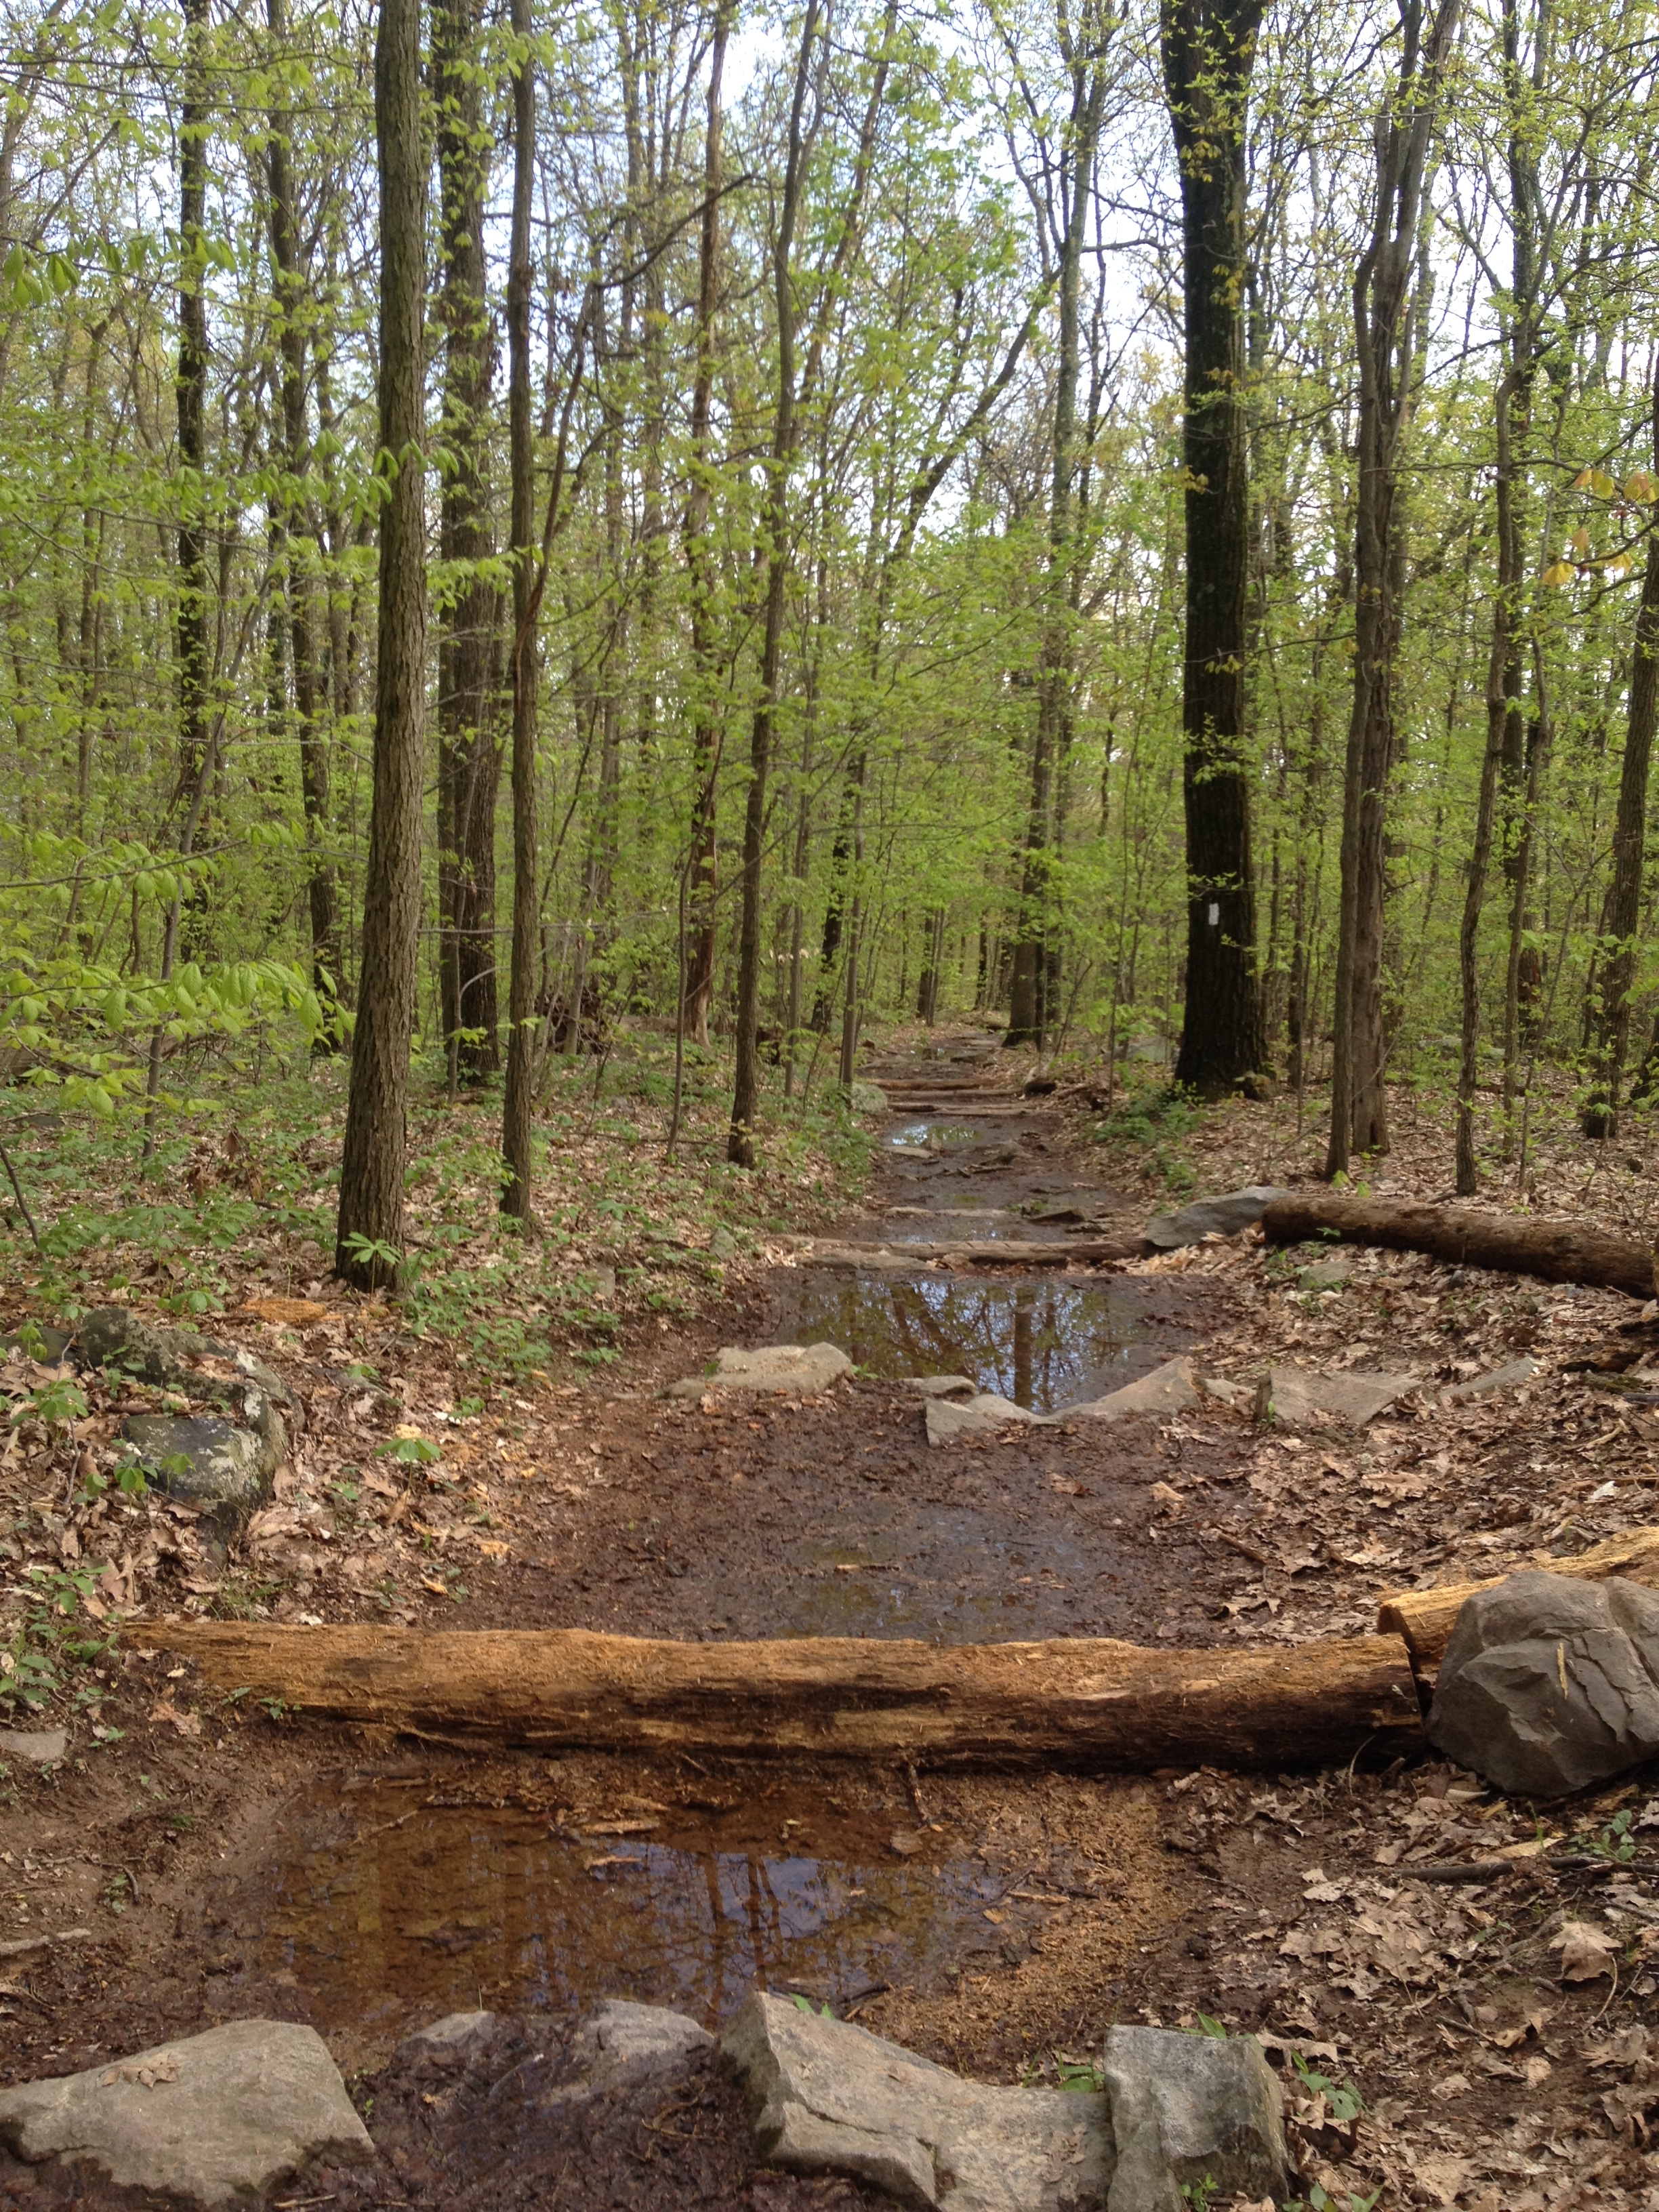
Checkdams are obstructions placed on the Appalachian Trail which hold back the silt that would otherwise erode away and be lost forever. Often hikers believe these are steps but their function is to be a dam and hold back dirt that would otherwise wash away. When used properly and over decades, checkdams can be used to rejuvenate a section of trail that is rutted. More often checkdams are simply used to slow the progression of erosion because the soil building up is coming from an uphill section of the trail so another section is loosing it’s soil in order to fill the dam.
Checkdams on the AT are generally either made of stone or logs. Stone is permanent and are a lot of work to construct but that work is only done once. Laying a log across the AT seems easy but the log only lasts a couple years and must be replaced timely or the effort is futile. So making stone checkdams is better but more time consuming and logs seem easier at the time but may actually be more work in the long term.
The checkdams work by slowing the flow of water which is carrying silt so that the silt (dirt) deposits behind the dam. The water then continues to flow on downhill or seeps into the ground. The buildup of the silt behind checkdams takes time and is only going to collect behind one checkdam so this is a long term, time consuming process that requires commitment. Once one dam fills another can be added and maintainers must watch the older dams for decay replacing any logs that are rotten before they fail completely.
One Checkdam at a Time or A Stitch in Time Saves Nine
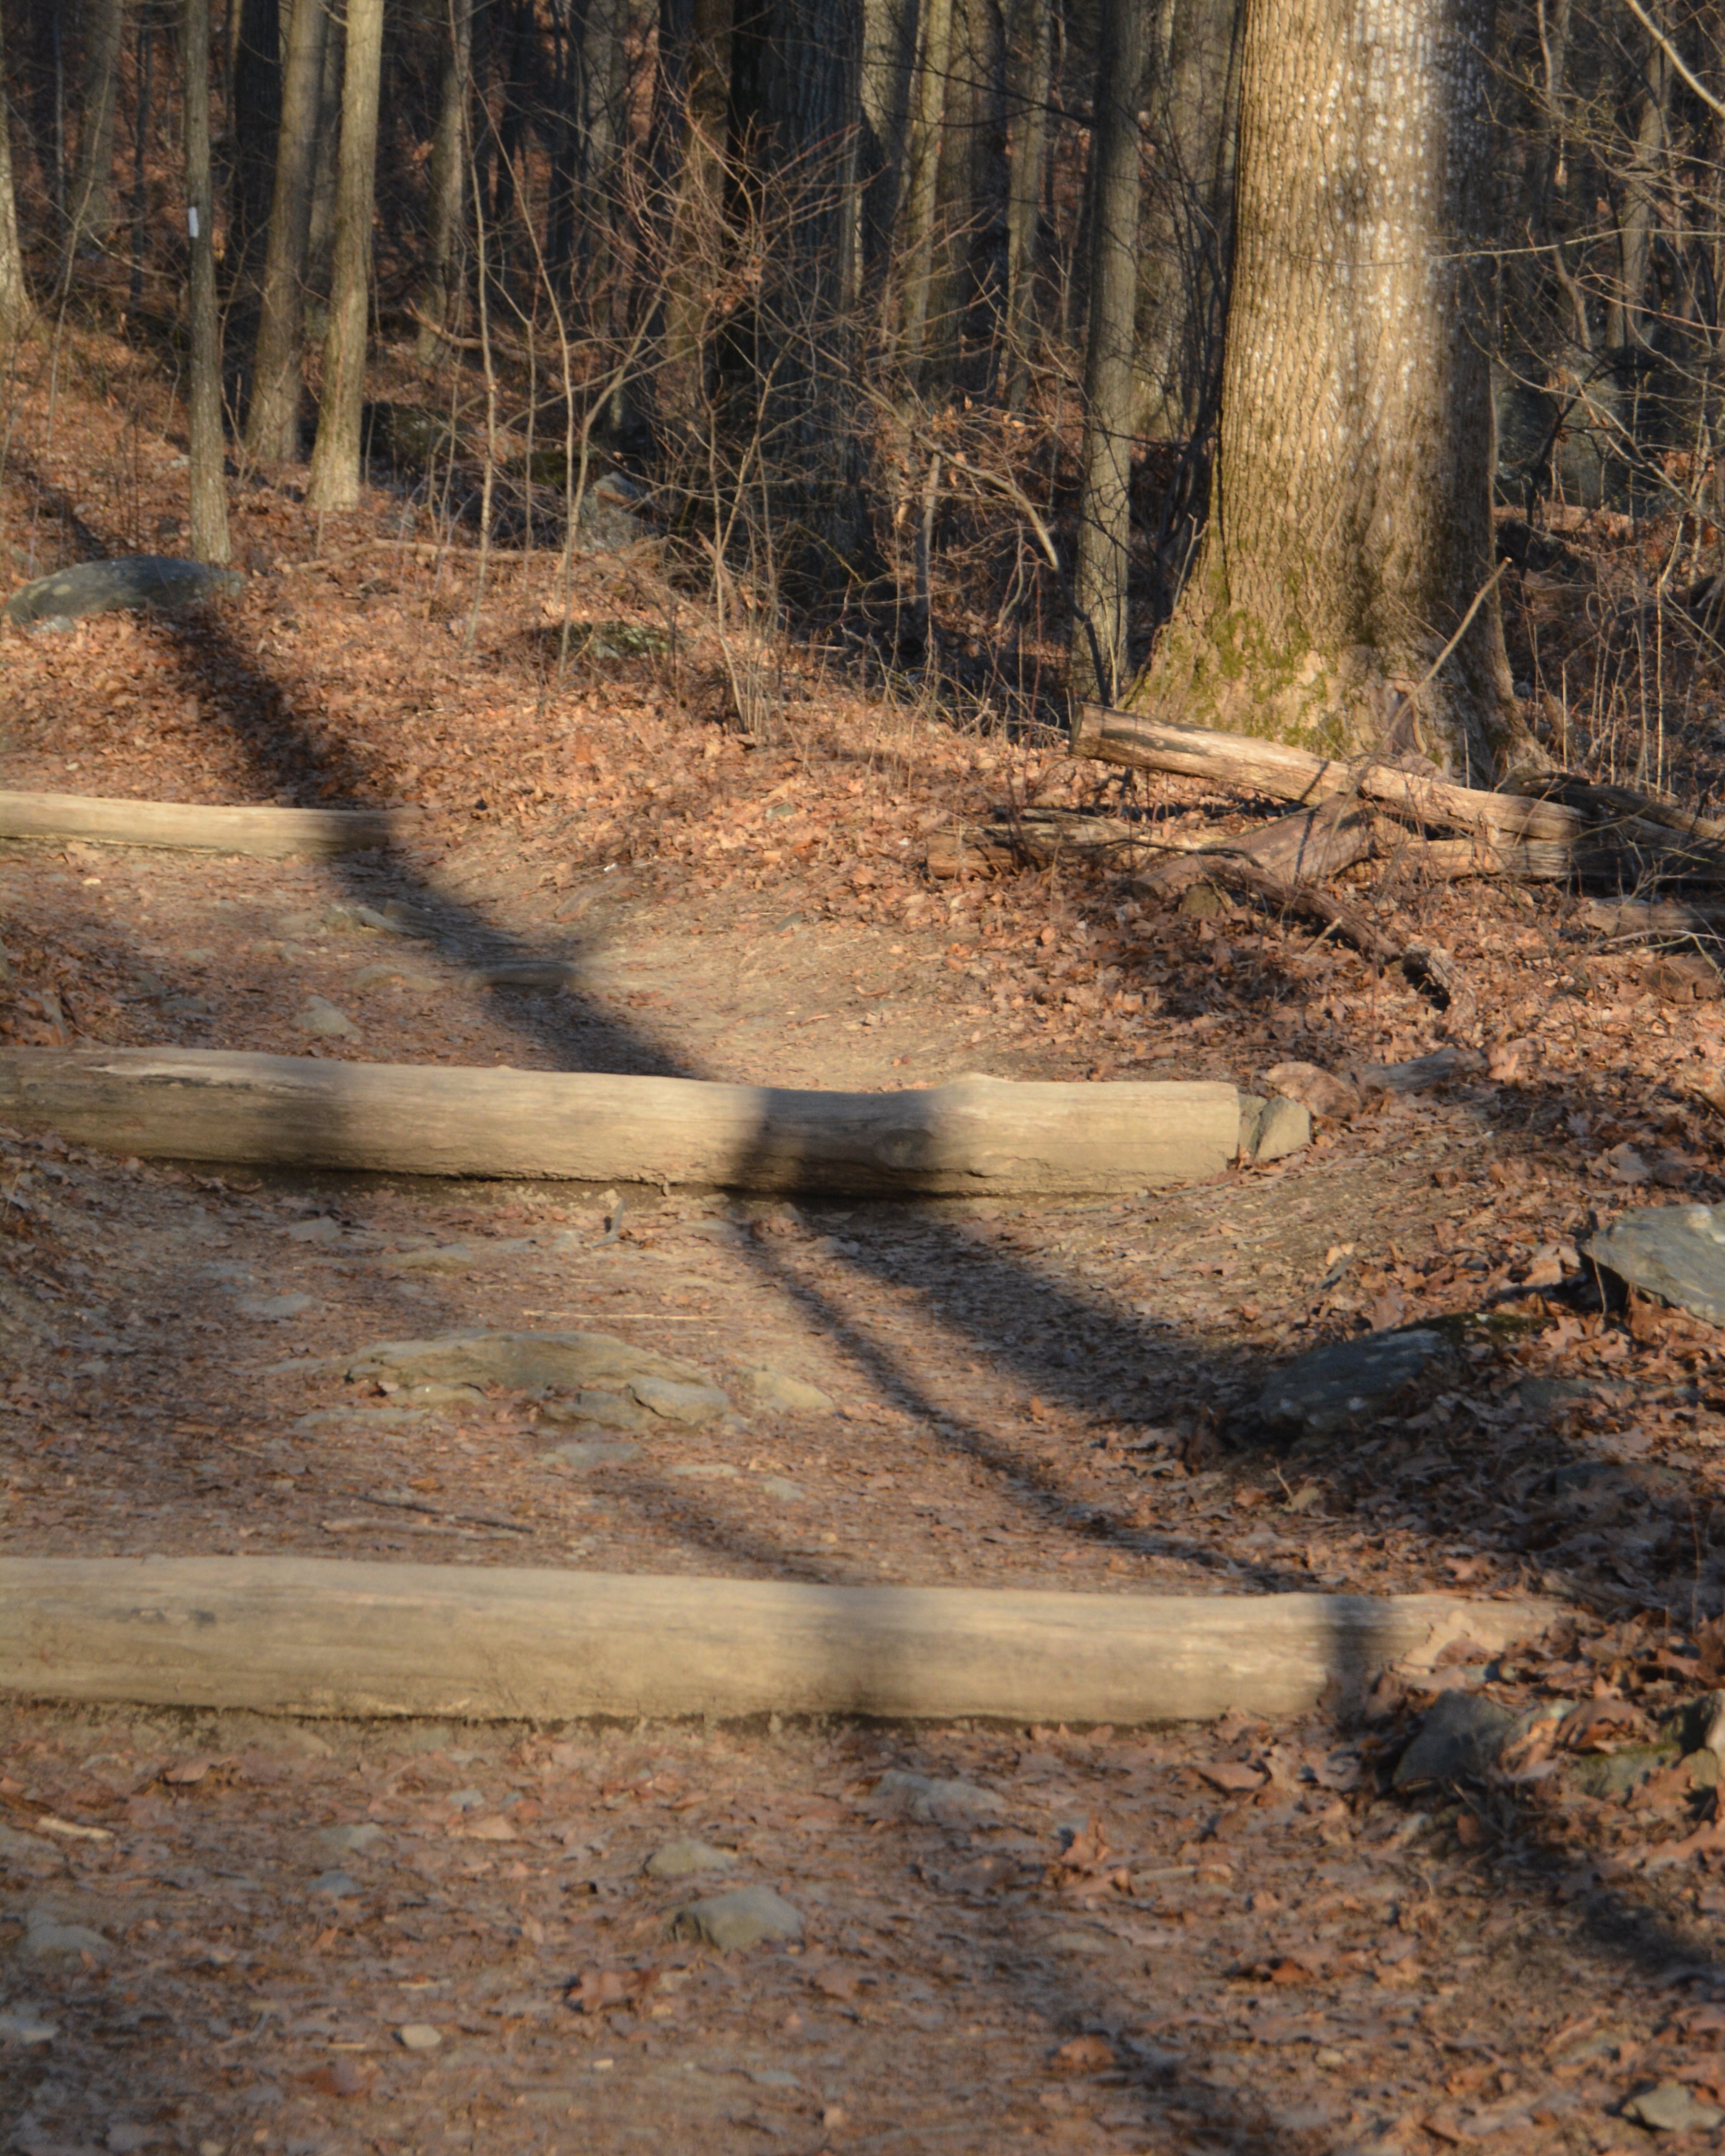
Often new maintainers of the Appalachian Trail will see many checkdams in a row, and try to replicate this too quickly. When you’re walking on the AT and come across these stepped rows of contiguous checkdams it’s usually the result of many years of diligently adding checkdams one at a time by the previous maintainers, and allowing them to fill then adding another checkdam. The well meaning new maintainer might get a little too overzealous and add many checkdams in a row all at once with the belief that this will speedup the process of rebuilding the trail tread. Yet there is only so much silt flowing in the water that can build up and it’s generally going to settle into the first checkdam only. So many times at these series of checkdams the logs will simply rot without any collection of sediment. So the recommended process is adding one checkdam every 60 feet or so, and waiting for it to fill before adding another. It’s simply a waste of effort otherwise.
Dry checkdams – waterbar (bottom most log in picture) cuts off supply of silt
In the picture below is a closer look at the same location showing the checkdam logs rotting without filling.
Dry checkdams – wood rots before sediment builds up
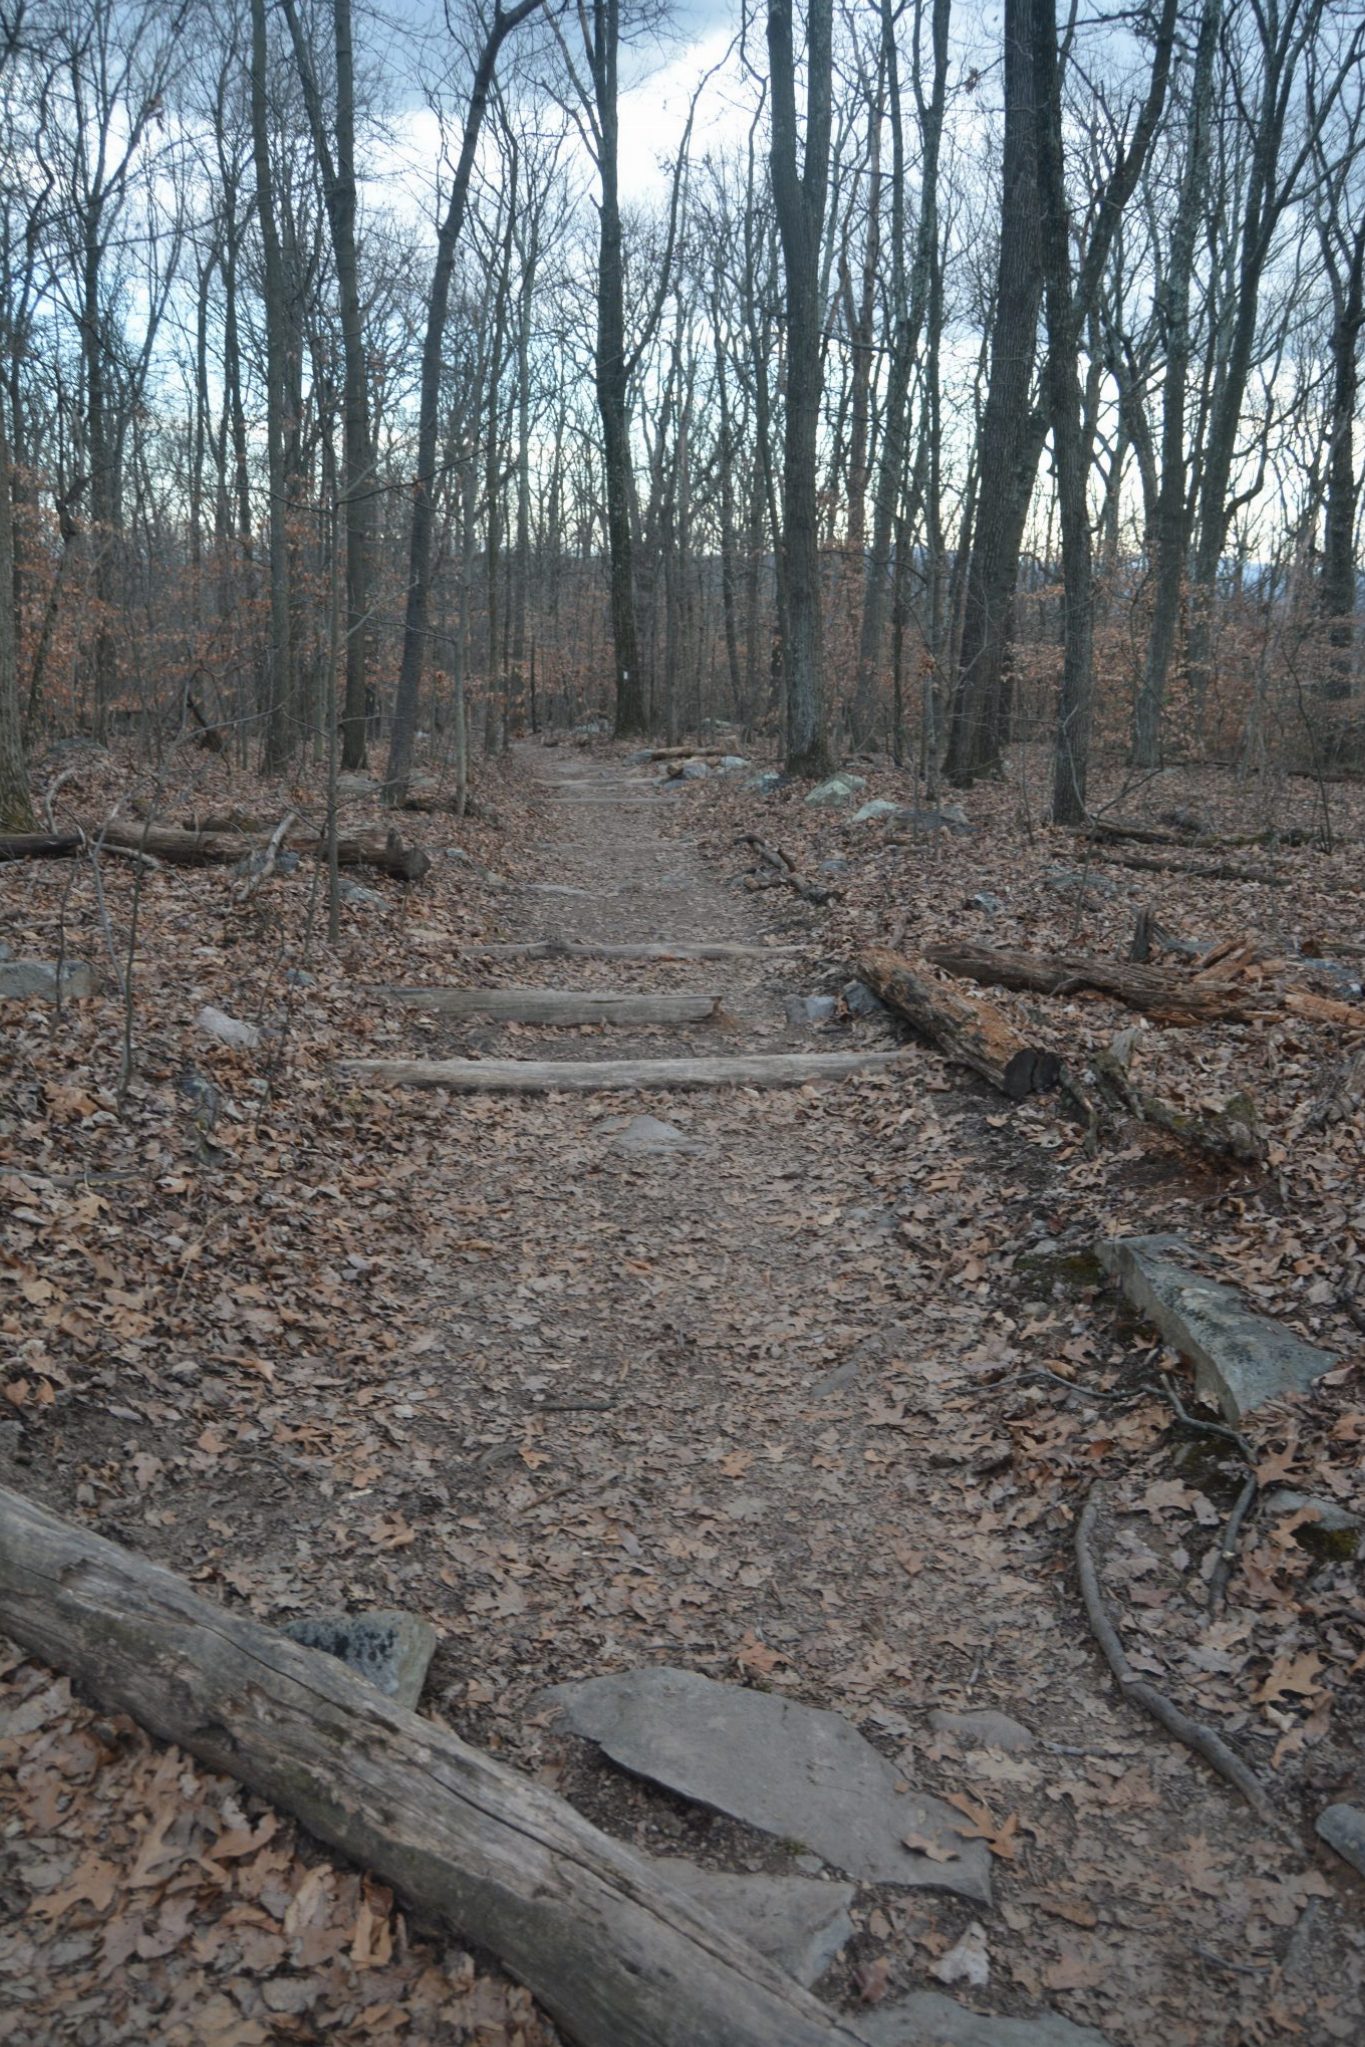
This picture is of a place on the AT with many checkdams placed in a row. This is an obstacle course to walk over and does no good for erosion. Besides doing no good since they are simply placed one after another and will simply rot away – it’s ugly and difficult to walk over. There is probably no harm done to the trail except for ugliness and stated in economic terms, there is lost opportunity costs in that the effort could have been applied elsewhere more useful.
Overzealous Application of Checkdams.
Perhaps even worse in these lonely hearts club checkdam sections, a little sediment will build up and block drainage so the dams simply hold water back and become pools. In severe cases, hikers will avoid these ponds by walking to the sides of the AT causing the trail to widen further and worsening the erosion problem rather then reducing it.
Checkdam ponds
Stopping Erosion Means There Must Be Some Erosion Occurring
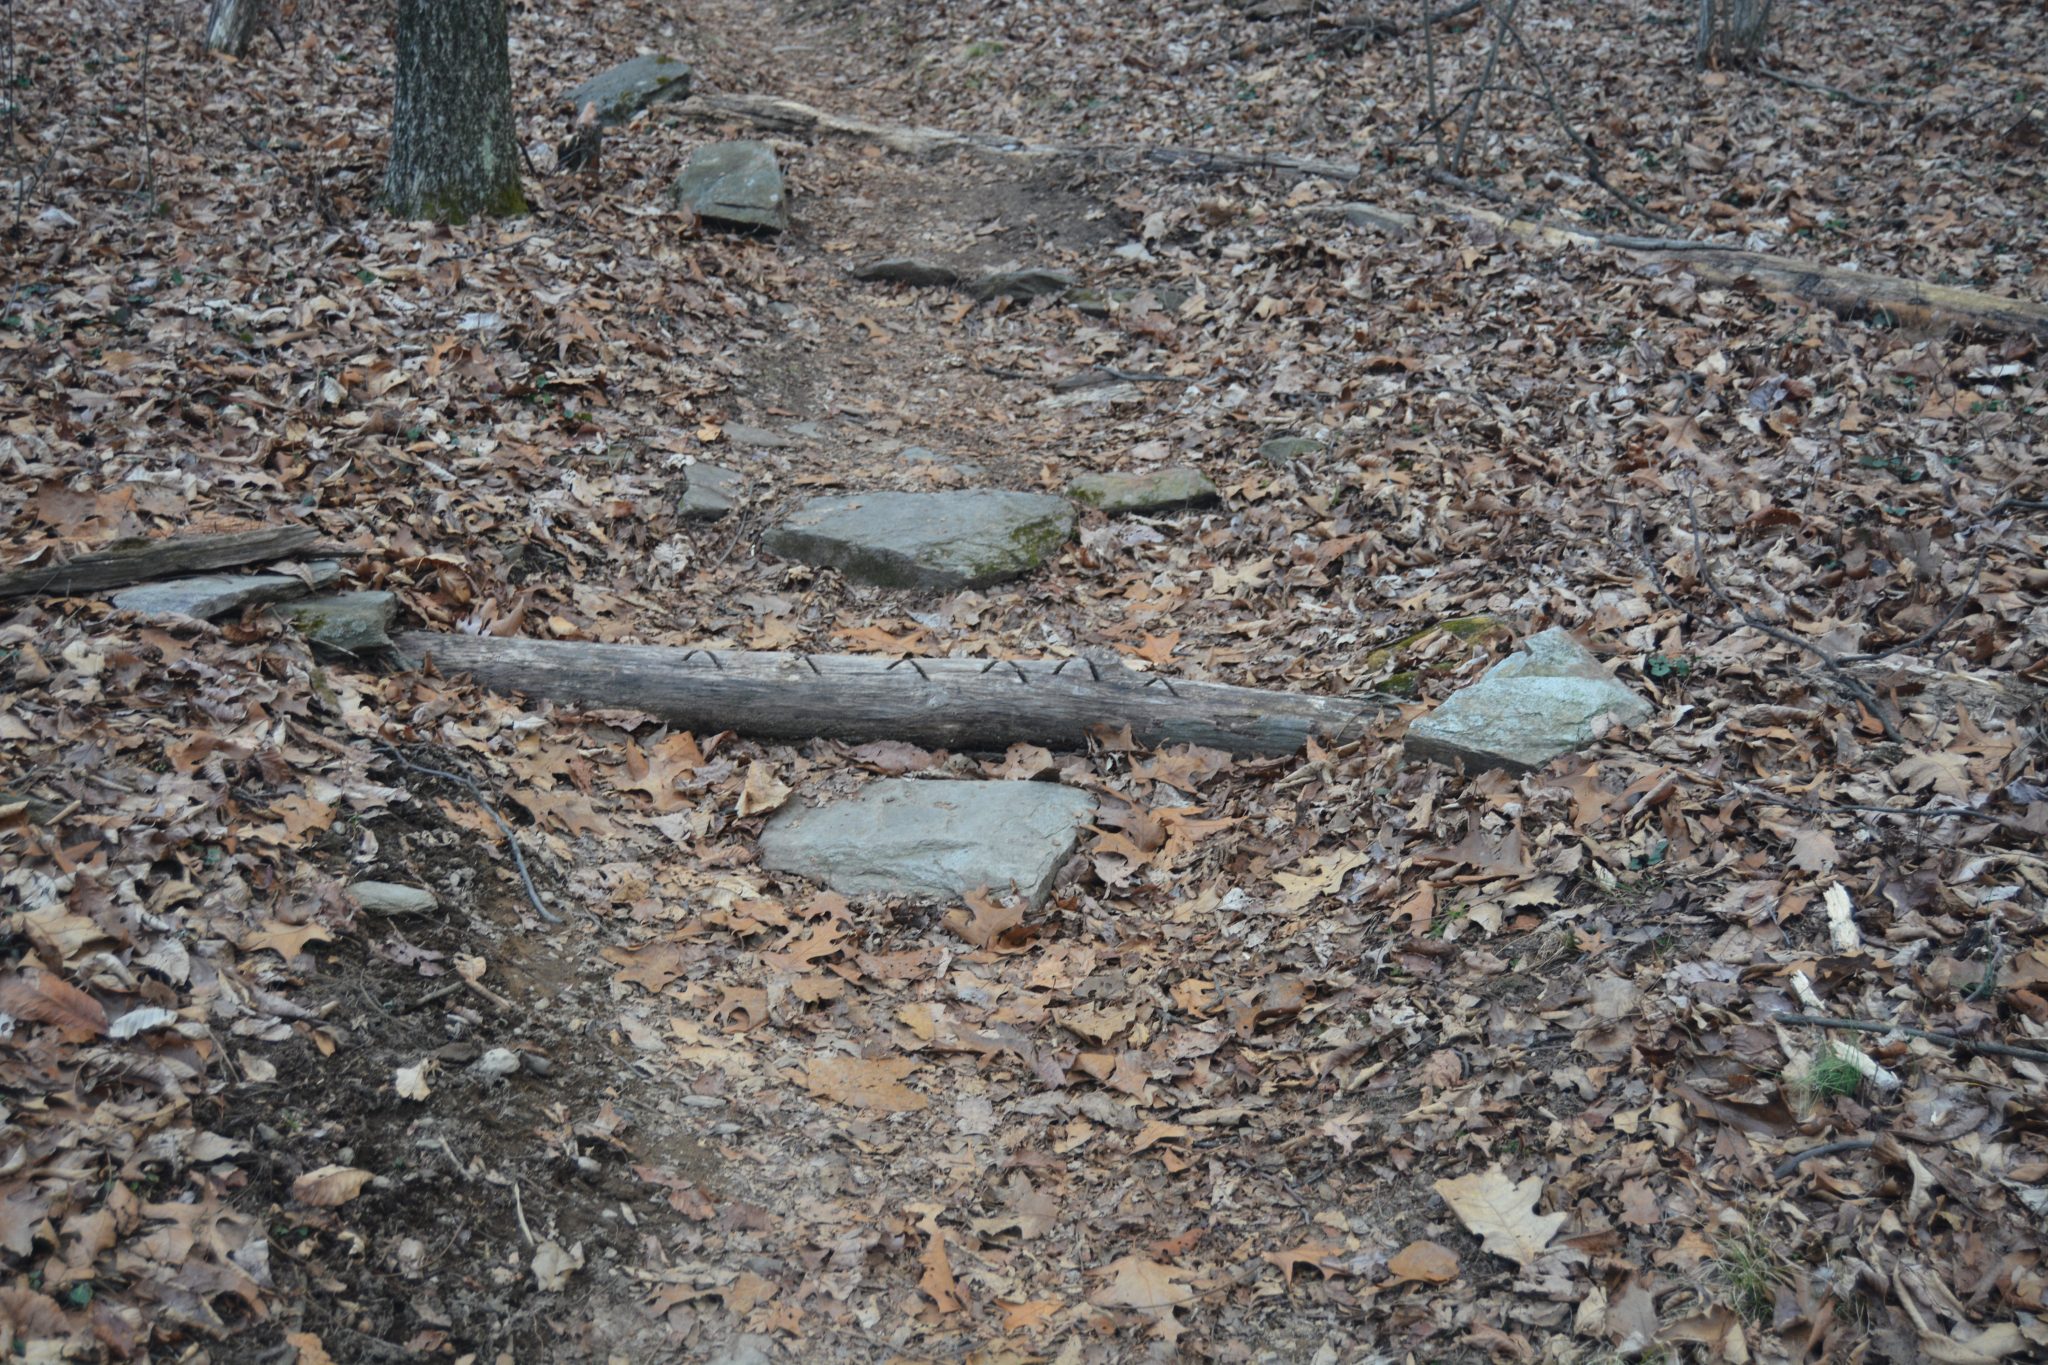
As already mentioned, the silt that is building up in the checkdam is coming from the Appalachian Trail itself just uphill of the checkdam. So that 6 inch deep by 7 foot wide by 8 foot long section of soil behind the checkdam is actually from the tread in the 100 feet or so above the checkdam. You probably won’t notice the loss of a 1/4 inch of soil over such a long stretch but that is what is happening. A functional checkdam is placed in a location where there is active erosion in order to slow the process of erosion down. Placing a checkdam directly following a waterbar, which directs water away from the trail, will do little good because the soil and water have been redirected from the trail just above the checkdam. So this means that when installing checkdams, that waterbars are placed downhill of the dams as the water must flow into the dam with sufficient speed to carry silt, slow in the level dam dropping the payload of silt, pass on and finally get redirected away from the trail. So generally the two main methods of erosion control, checkdams and water bars are mutually exclusive although a water bar can be effective following a check dam but not visa-versa.
There is one other location where checkdams are of benefit and that is on steep grades where the foot traffic loosens the trail tread and the silt is push downhill either by the soles of boots, gravitation or rain. It’s these locations that hikers often confuse the erosion control function of checkdams with them being steps. A checkdam at this locations can function quite well with little or no water, and can immediately follow a waterbar as the movement of soil to fill the checkdam is the result of the base of hikers feet.
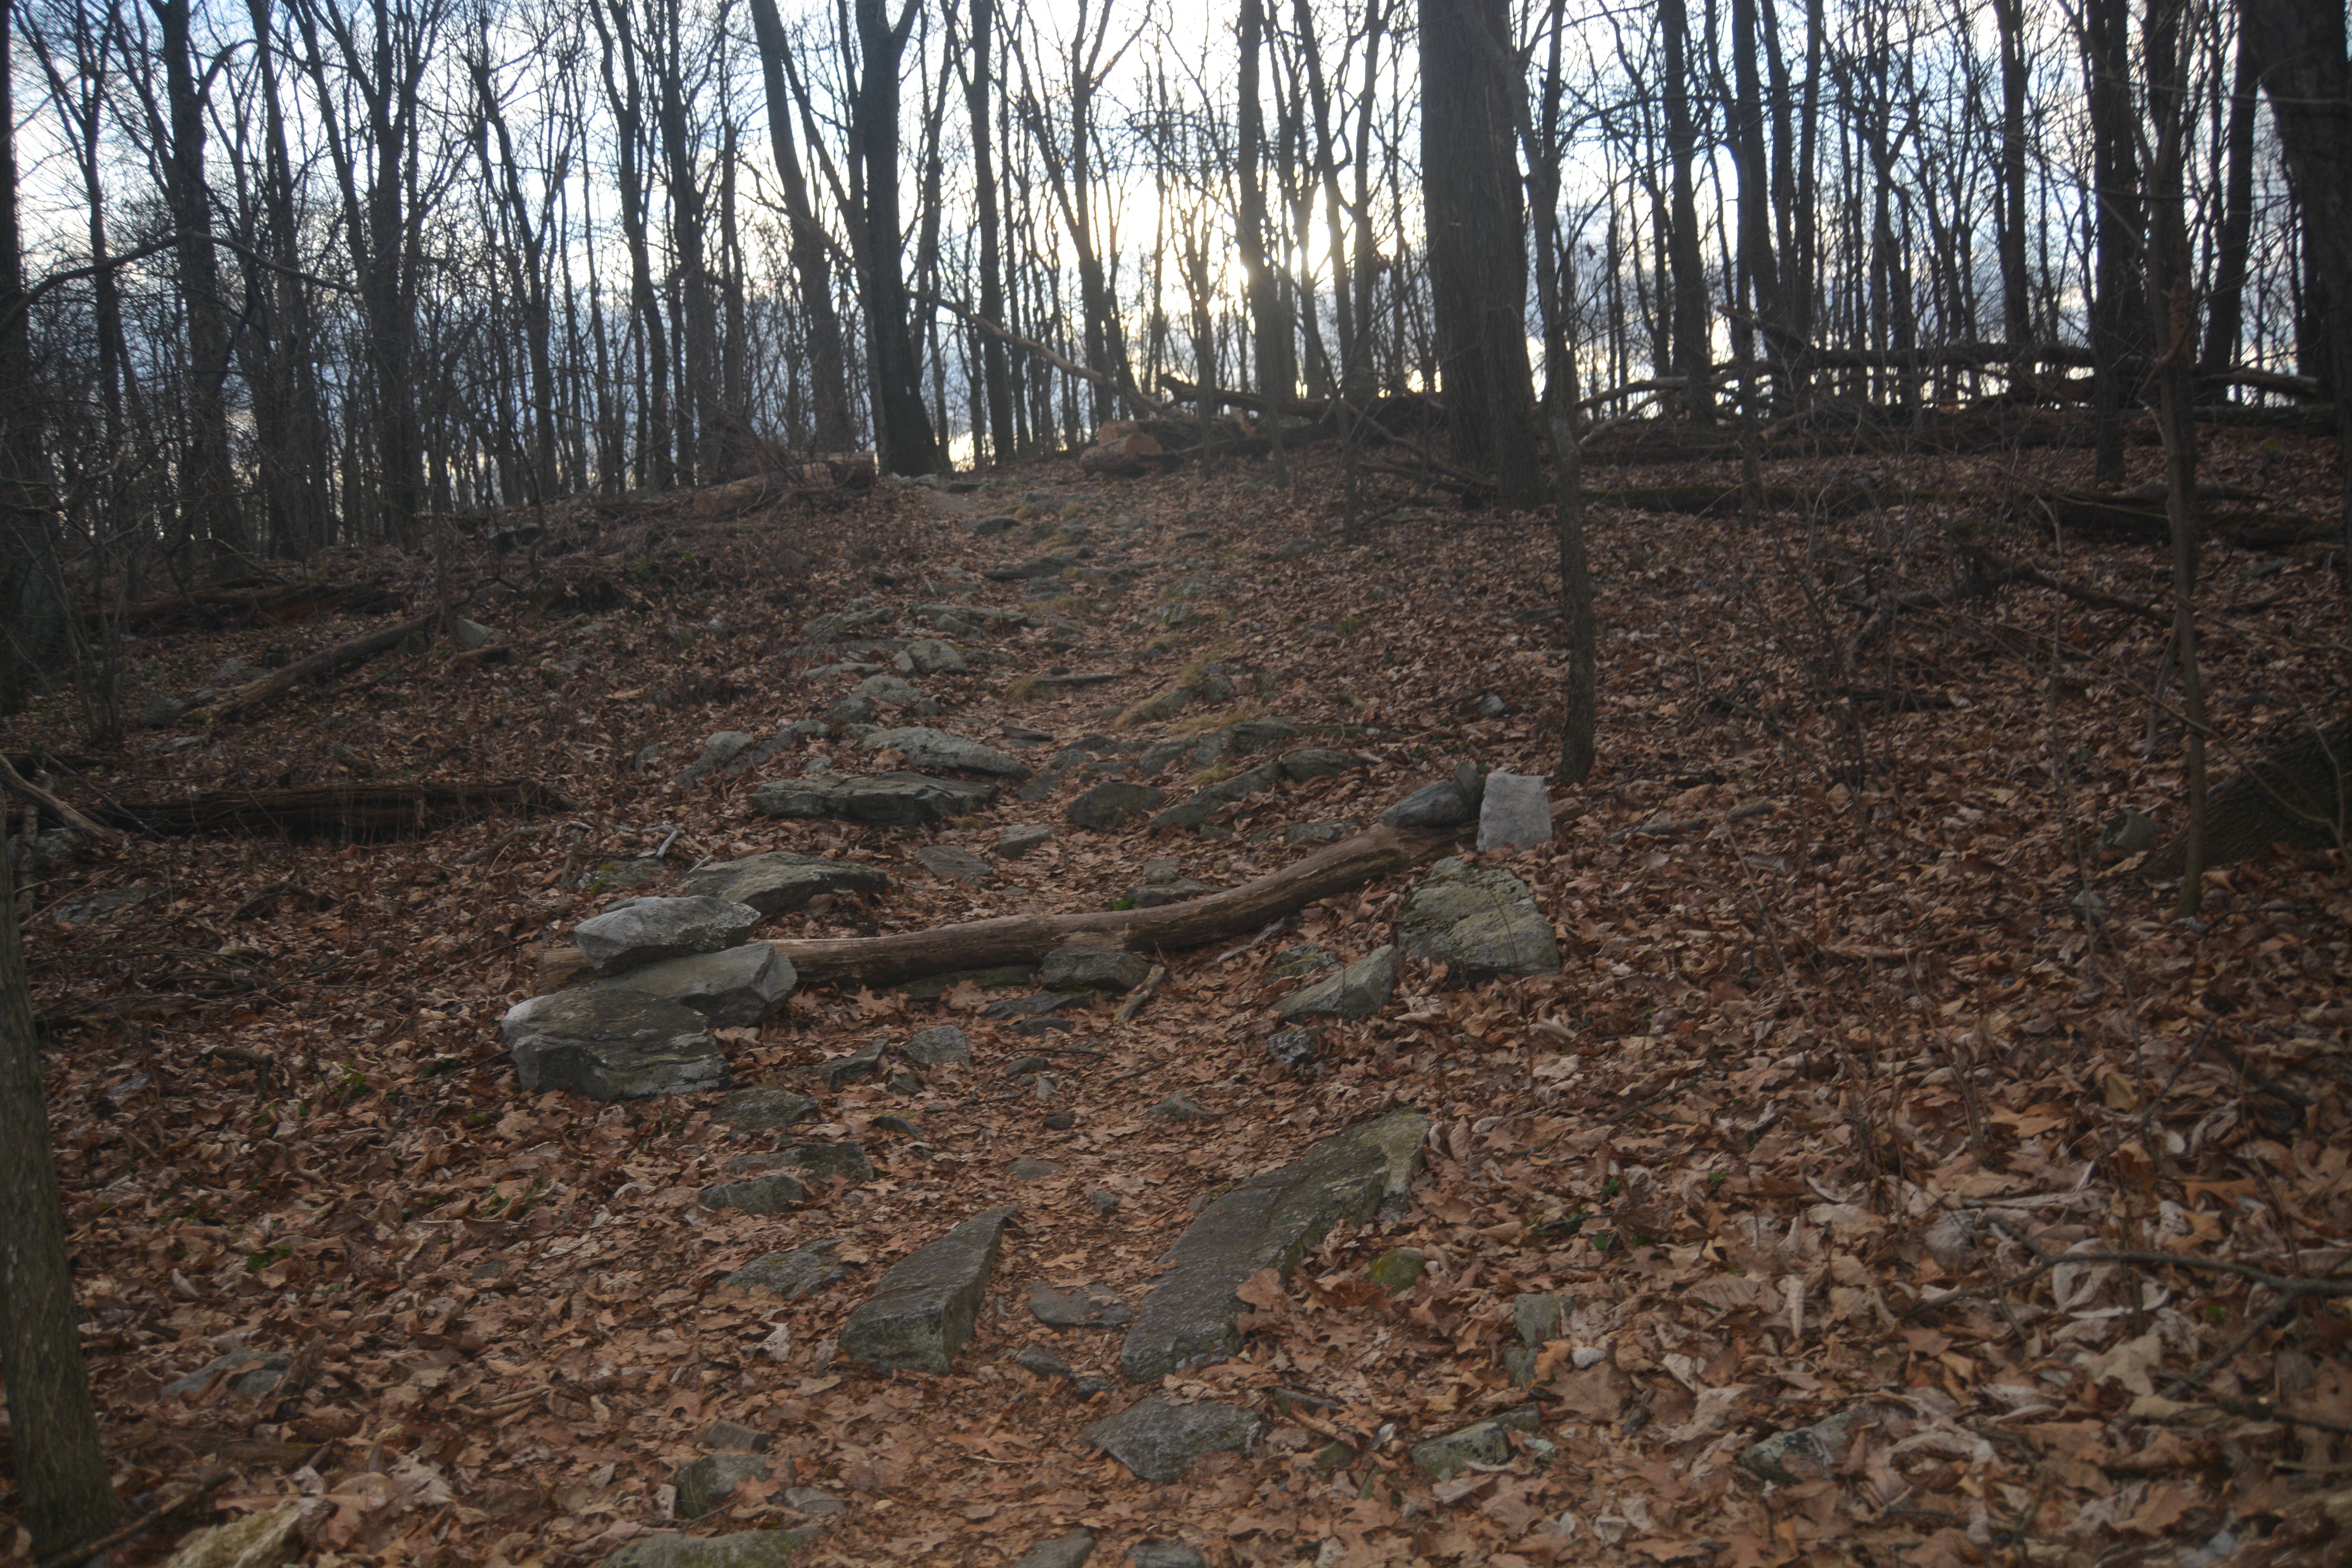
Where not to install check dams:
Too close to a waterbars. Waterbars direct water away. Checkdams need water to carry in the silt and dirt. Waterbars follow checkdams. A checkdam too closely following a checkdam with sit lonely and empty.
On a well drained soil section where water is simply draining away. Remember, checkdams work by slowing down water so the soil stops moving and deposits there. With no water, the checkdam is just an impediment.
One after another. In most cases, install one checkdam at a time and watch what happens before adding more. Simply adding checkdams one after another is a waste of effort as the first one will collect the soil and others sit empty. There are exceptions to every rule, such as steep slopes in highly used sections, so that’s why you should observe how the checkdam is operating to see if adding another would help reduce erosion more or simply site empty and look ugly.
This picture is of a many year old checkdam that was placed directly downhill of a waterbar and has not (and will never) fill because the water has been efectively removed by the waterbar. This is simply a trip hazard.
With no waterflow this checkdam won’t fill
Some folks install checkdams for checkdams sake – meaning they get placed in a location where they do no good as there is no flow of water and are nothing more then something to step over. The following picture is of a checkdam on a hill side on well drained rocky soil. This is on a busy section of the AT and you can tell it’s well drained as the leaf litter is laying on the tread and there are no signs of erosion visible. Rain water here simply drains into the soil.
This checkdam is on well drained soil and will never fill
Some folks don’t think about the effects of their actions. Perhaps they’re visiting a place and think, it’s only me, what can it hurt.
Well, on the Appalachian Trail, there are effects by everyone and you are not alone.
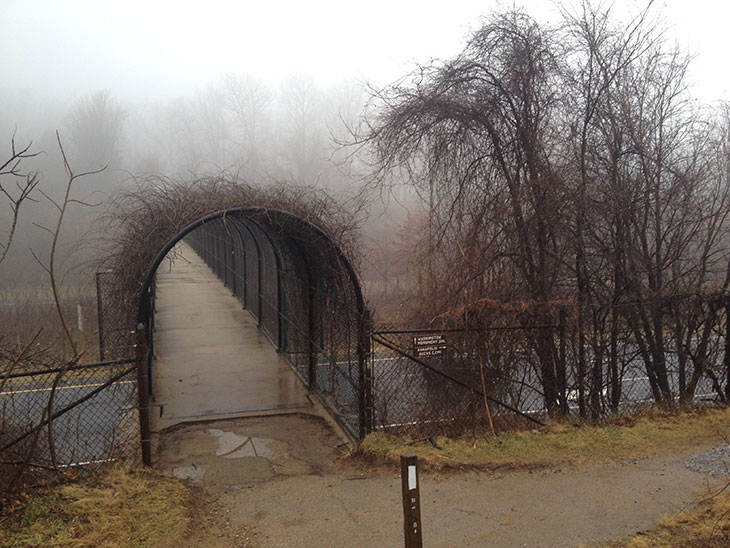
What I’m talking about is the “Leave No Trace” ethic. You are never really alone anywhere on the Appalachian Trail. And at Pine Knob, this is especially true. Because of the sign on the footbridge over the I-70 Freeway, the easy access from the freeway and the close proximity of popular Greenbrier State Park, this section of the AT gets a workout. Often the parking area is full and folks scramble to park. For some reason though, they’re in a hurry to get to the trail and take short cuts to save 30 seconds.
Please don’t take short cuts. The trail is maintained by us volunteers, the damage done by folks taking short cuts just leads to more work for us, and keeps us from taking care of the AT itself.
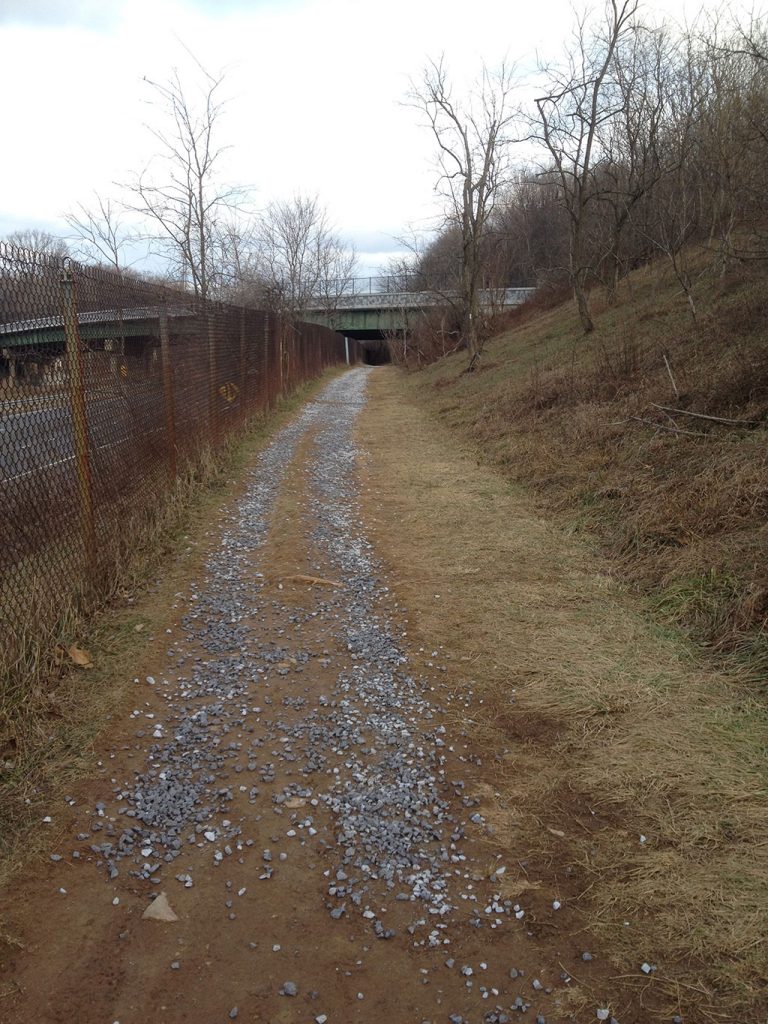
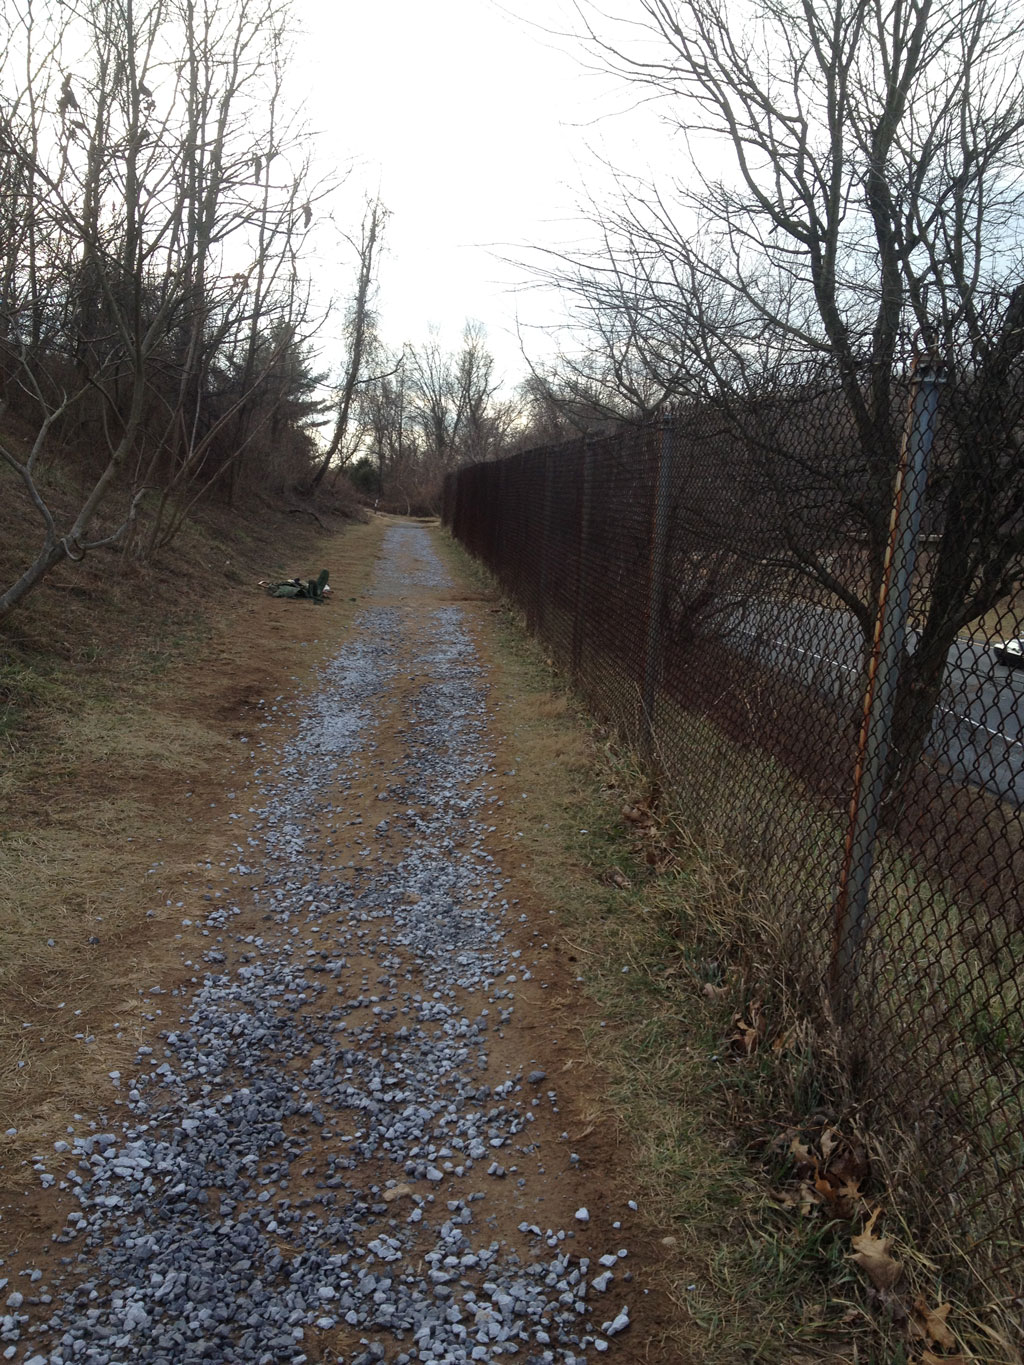
So recently I’ve done a little work to give incentive to stay on the AT from/to the blue marked access path from the parking. I laid a path of gravel on the dirt section of the AT along the fence next to the I-70 freeway. That’s a ton (2000 lbs) of gravel carried in 400 meters to the trail by manual labor. About 4 hours work shuttling in the stone. The picture shows the gravel loose but in no time after a rain it will get pushed into the ground and disappear to the eyes but not the feet. The result will be a hard surface that won’t get muddy and will give an added reason to stay on the trail for the extra 100 feet. Please do.
Looking South on AT along I-70 at Pine Knob in Maryland
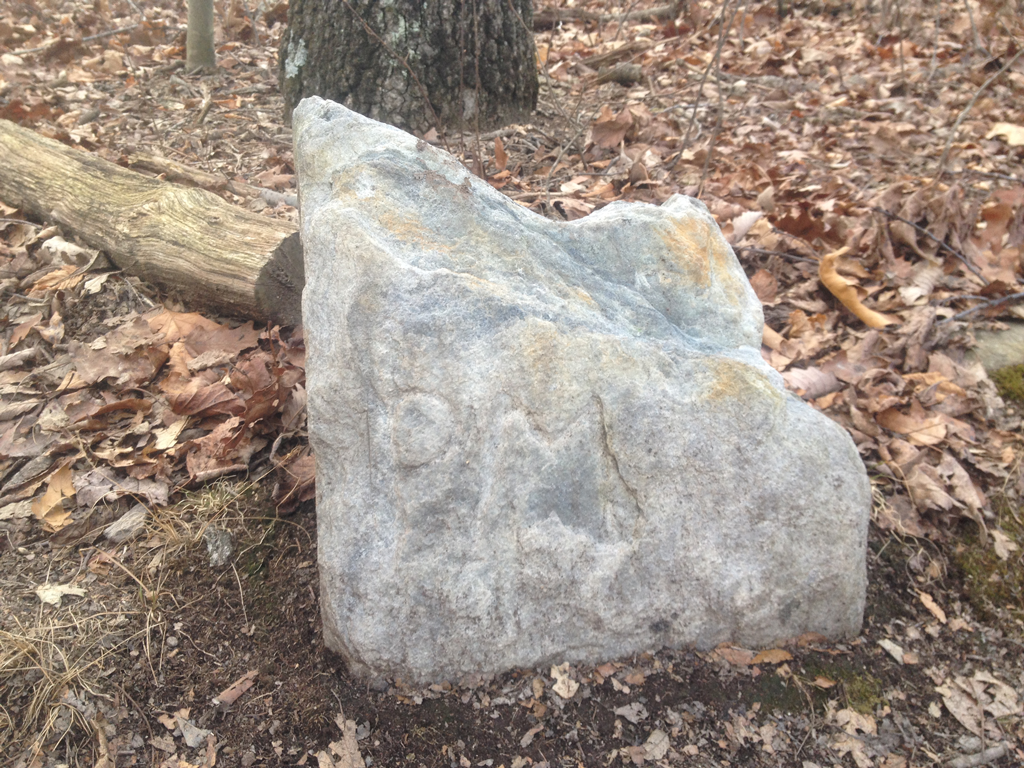
If you were just walking along on the Appalachian Trail and saw this rock among the millions you might not pay any attention. It’s not just another stone, it’s an original mile marker. Back in the beginning days they placed mile markers along the trail as they measured it here in Maryland in April 1932. This one is at mile 8 north of the Potomac River crossing and is about 1/2 mile south of Gathland State Park.
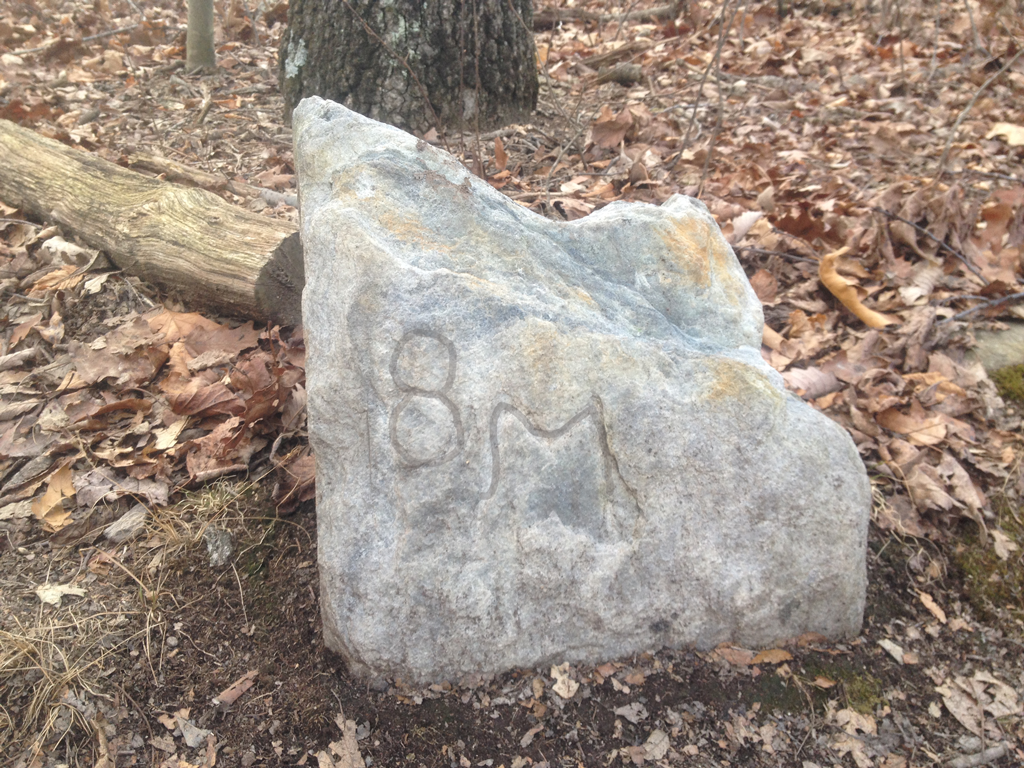
I highlighted the numerals in the picture on the below so you can see the ‘8 M’ carved into the stone. I think I’ve found a second one of these stones about 15 miles north of here. Over the years the trail’s been maintained by many different folks and it’s been moved to protected ground in places so I’m not sure how many are left. Here the ridge top is tight, so the trail lays in it’s originally path from this era.
A history link for those the are interested: http://www.patc.net/…/Library/PATC_-…/Trail_Development.aspx
Annotated Marker ‘Highlighting’ the carving of 8 M
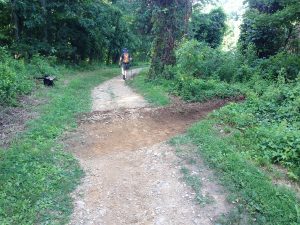
This section of the Appalachian Trail is near a popular State Park and has a sign hanging on this bridge announcing it’s presence so it’s a very busy place to walk. Because of all of those boots and feet, the trail tread takes a beating.
It’s almost a continual process to keep the drainage waterbars from filling up with loose sediment and failing. Because of the slope of the trail here, lots of water gets directed toward that footbridge and without proper management the surface will get covered with dirt and when wet become a sloppy mess.
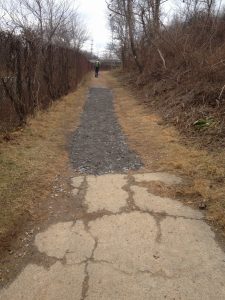
I’ve been working on keeping the systems functional and this week laid a 15mm layer of gravel on the AT as it approaches the bridge to harden the surface and prevent the dirt from migrating down and onto the bridge. The last picture below is from this summer when I built a waterbar to prevent water from flowing down the AT and onto the bridge. Surprisingly, there is still a bit of water gathering up on that 20 meter long section of the trail after the waterbar thus the need for the gravel.
Muddy Section of AT near Bridge Prior to Applying Stone
Stone on muddy section near bridge to prevent erosion
I have volunteered doing trail maintenance along a busy stretch of the Appalachian Trail in Maryland at Pine Knob (US-40 aka Annapolis Rocks). The AT crosses over the I-70 Freeway here on a foot bridge. Last spring I removed about 9 inches of mud from the bridge that had settled back about 50 feet. It was a major task and took about 5 hours. Yes, mud is part of regular life on the AT but it seemed to me that a long stretching sloppy muddy mess on a 6 foot wide fenced in cement foot bridge with no other place to walk ought to be avoided for safety reasons.
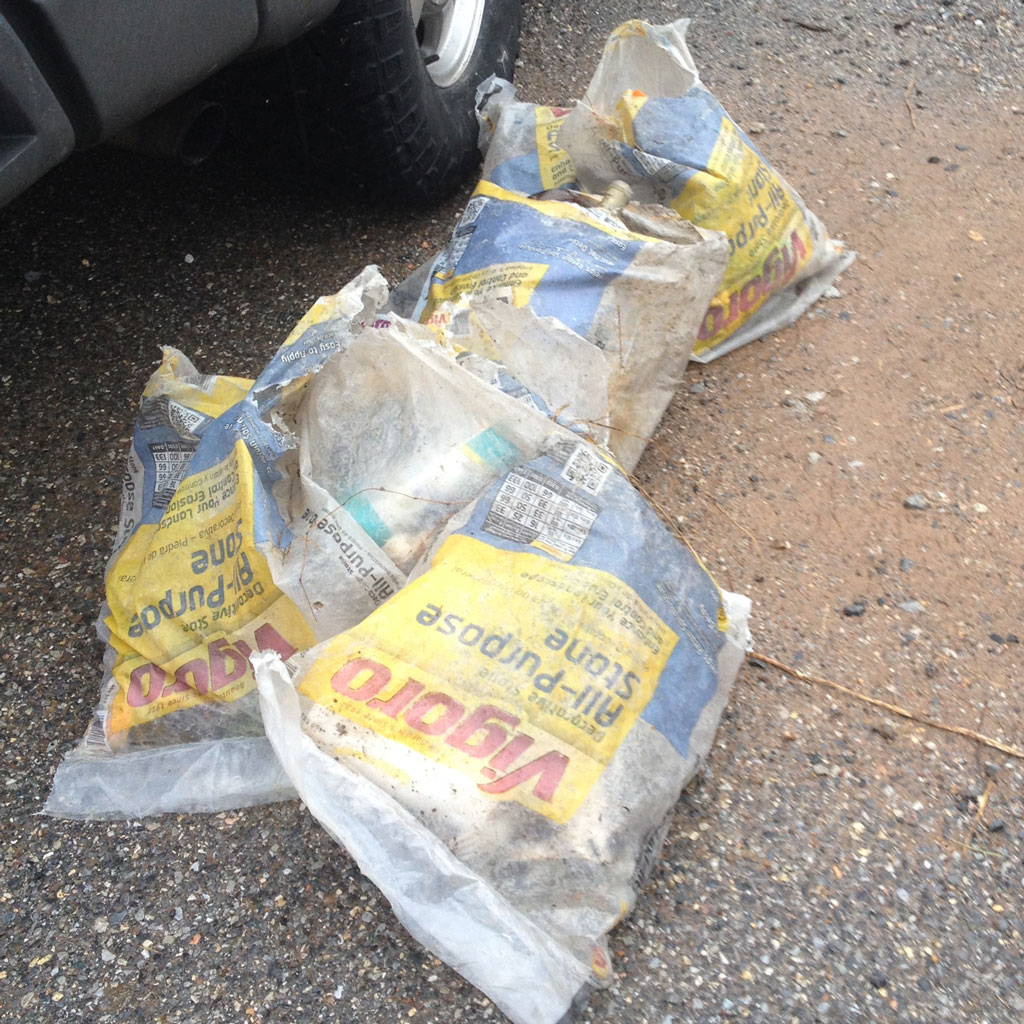
Garbology on the Appalachian Trail
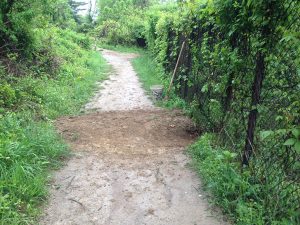
Since then I’ve implemented a number of measures to prevent the water and mud from flowing down there in the first place including waterbars on the Blue Blazed access trail from the parking area and on the AT along the safety fence next to the freeway. I’ve effectively stopped the water from the access trail yet even with a water bar about 75 feet uphill from the bridge on the AT, water and mud are still making it there.
I put a little bit of gravel down on this section last June to harden up the surface. The stone sorta just sat there since we really didn’t have any soaking rains. Once it got wet this fall though, the little bit of stone laughed at my effort and vanished into the tread with no trace at all.
Garbology? Where is that in this Article?
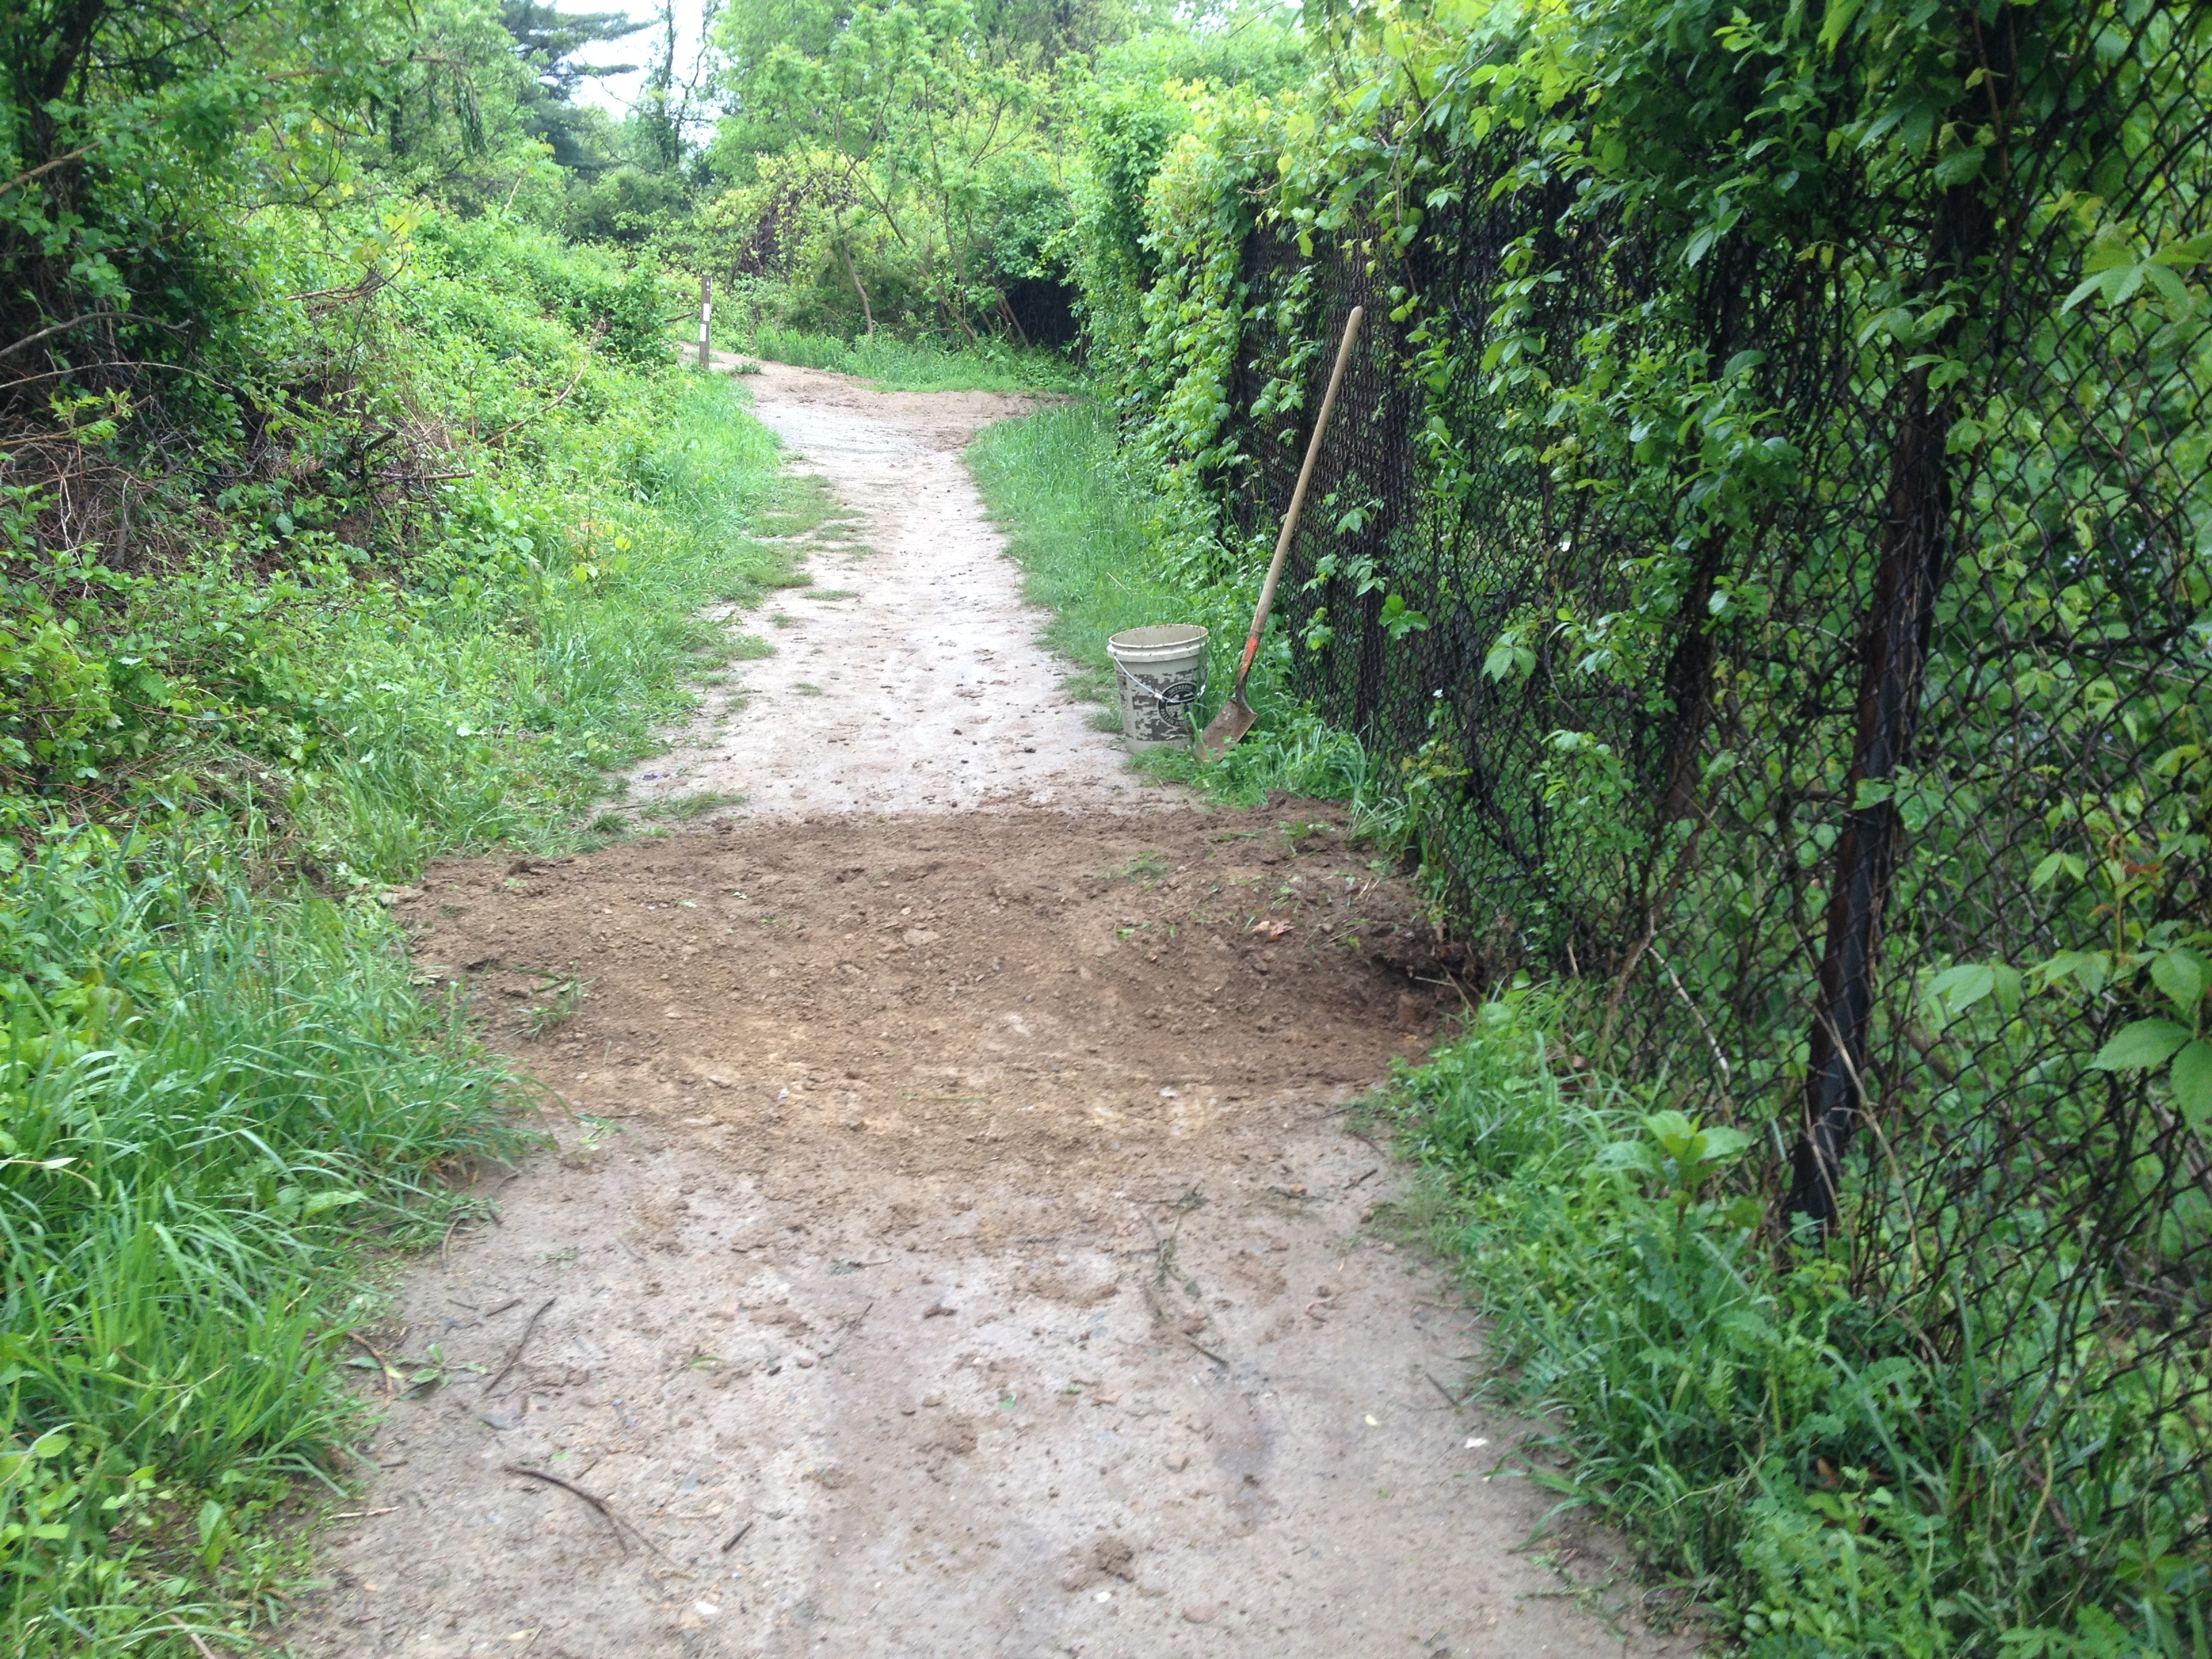
So I brought up a little more stone to fix this problem and each time I walked back for another sack of stone, I picked up some of the litter around the trail. This is just some of the trash I picked up. I took out about 3 times that much just from this short 600 foot section of Blue Access trail. Please take your trash with you. Leave No Trace. It may seems sometimes that you are all alone yet, someone is nearby and will see where you’ve been very soon. Thanks.
Muddy Section of AT near Bridge Prior to Applying Stone
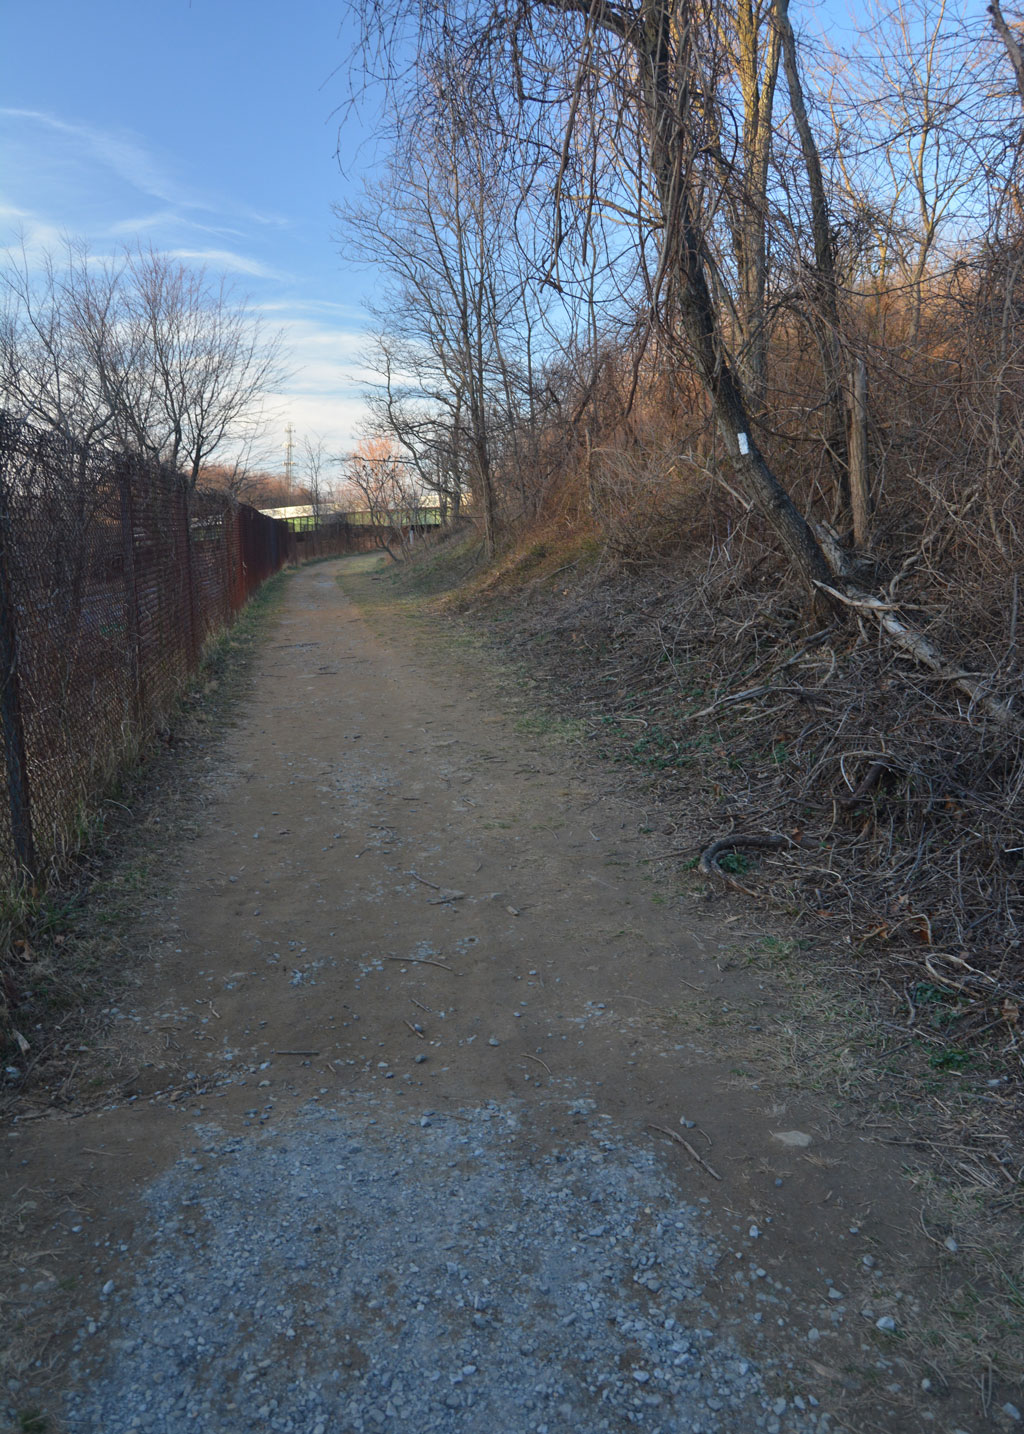
The heavily used, yet short section of the blue trail from the US-40 Pine Knob Parking area is stabilizing now after I dug a few water bars last summer to direct rain water off of the trail. Over time, the trail tread becomes lower then the surrounding land, and water becomes trapped in the trail tread. Then the water continues downhill and builds with more water. The end result is a deep rut that is hard to walk on.
I prefer these soil style waterbars over the log style. I used to maintain a section of the AT in Shenandoah National Park and these waterbars were built by previous maintenance folks and held up very well. Plus, when built properly, they are gentle to walk over. A nice rock facing on front would add some permanence to the waterbars but they’re pretty sturdy on their own right.
While it’s a fairly simple task to stop the erosion by digging a few ditches and piling the soil on the trail to direct the water off, it does become a long term maintenance item. In fairly short order on this heavily used section, these water bars will fill with soil and clog up, thus becoming non-functional.
Below are pictures from this summer of the freshly built water bars. They’ve really made a difference and no water from the blue trail is making it to the AT and ending up of the I-70 Pine Knob Footbridge. Water is still making it to the bridge though, coming downhill a short distance on the AT from a waterbar I built there last summer as well. Work to come to stop that flow of water.