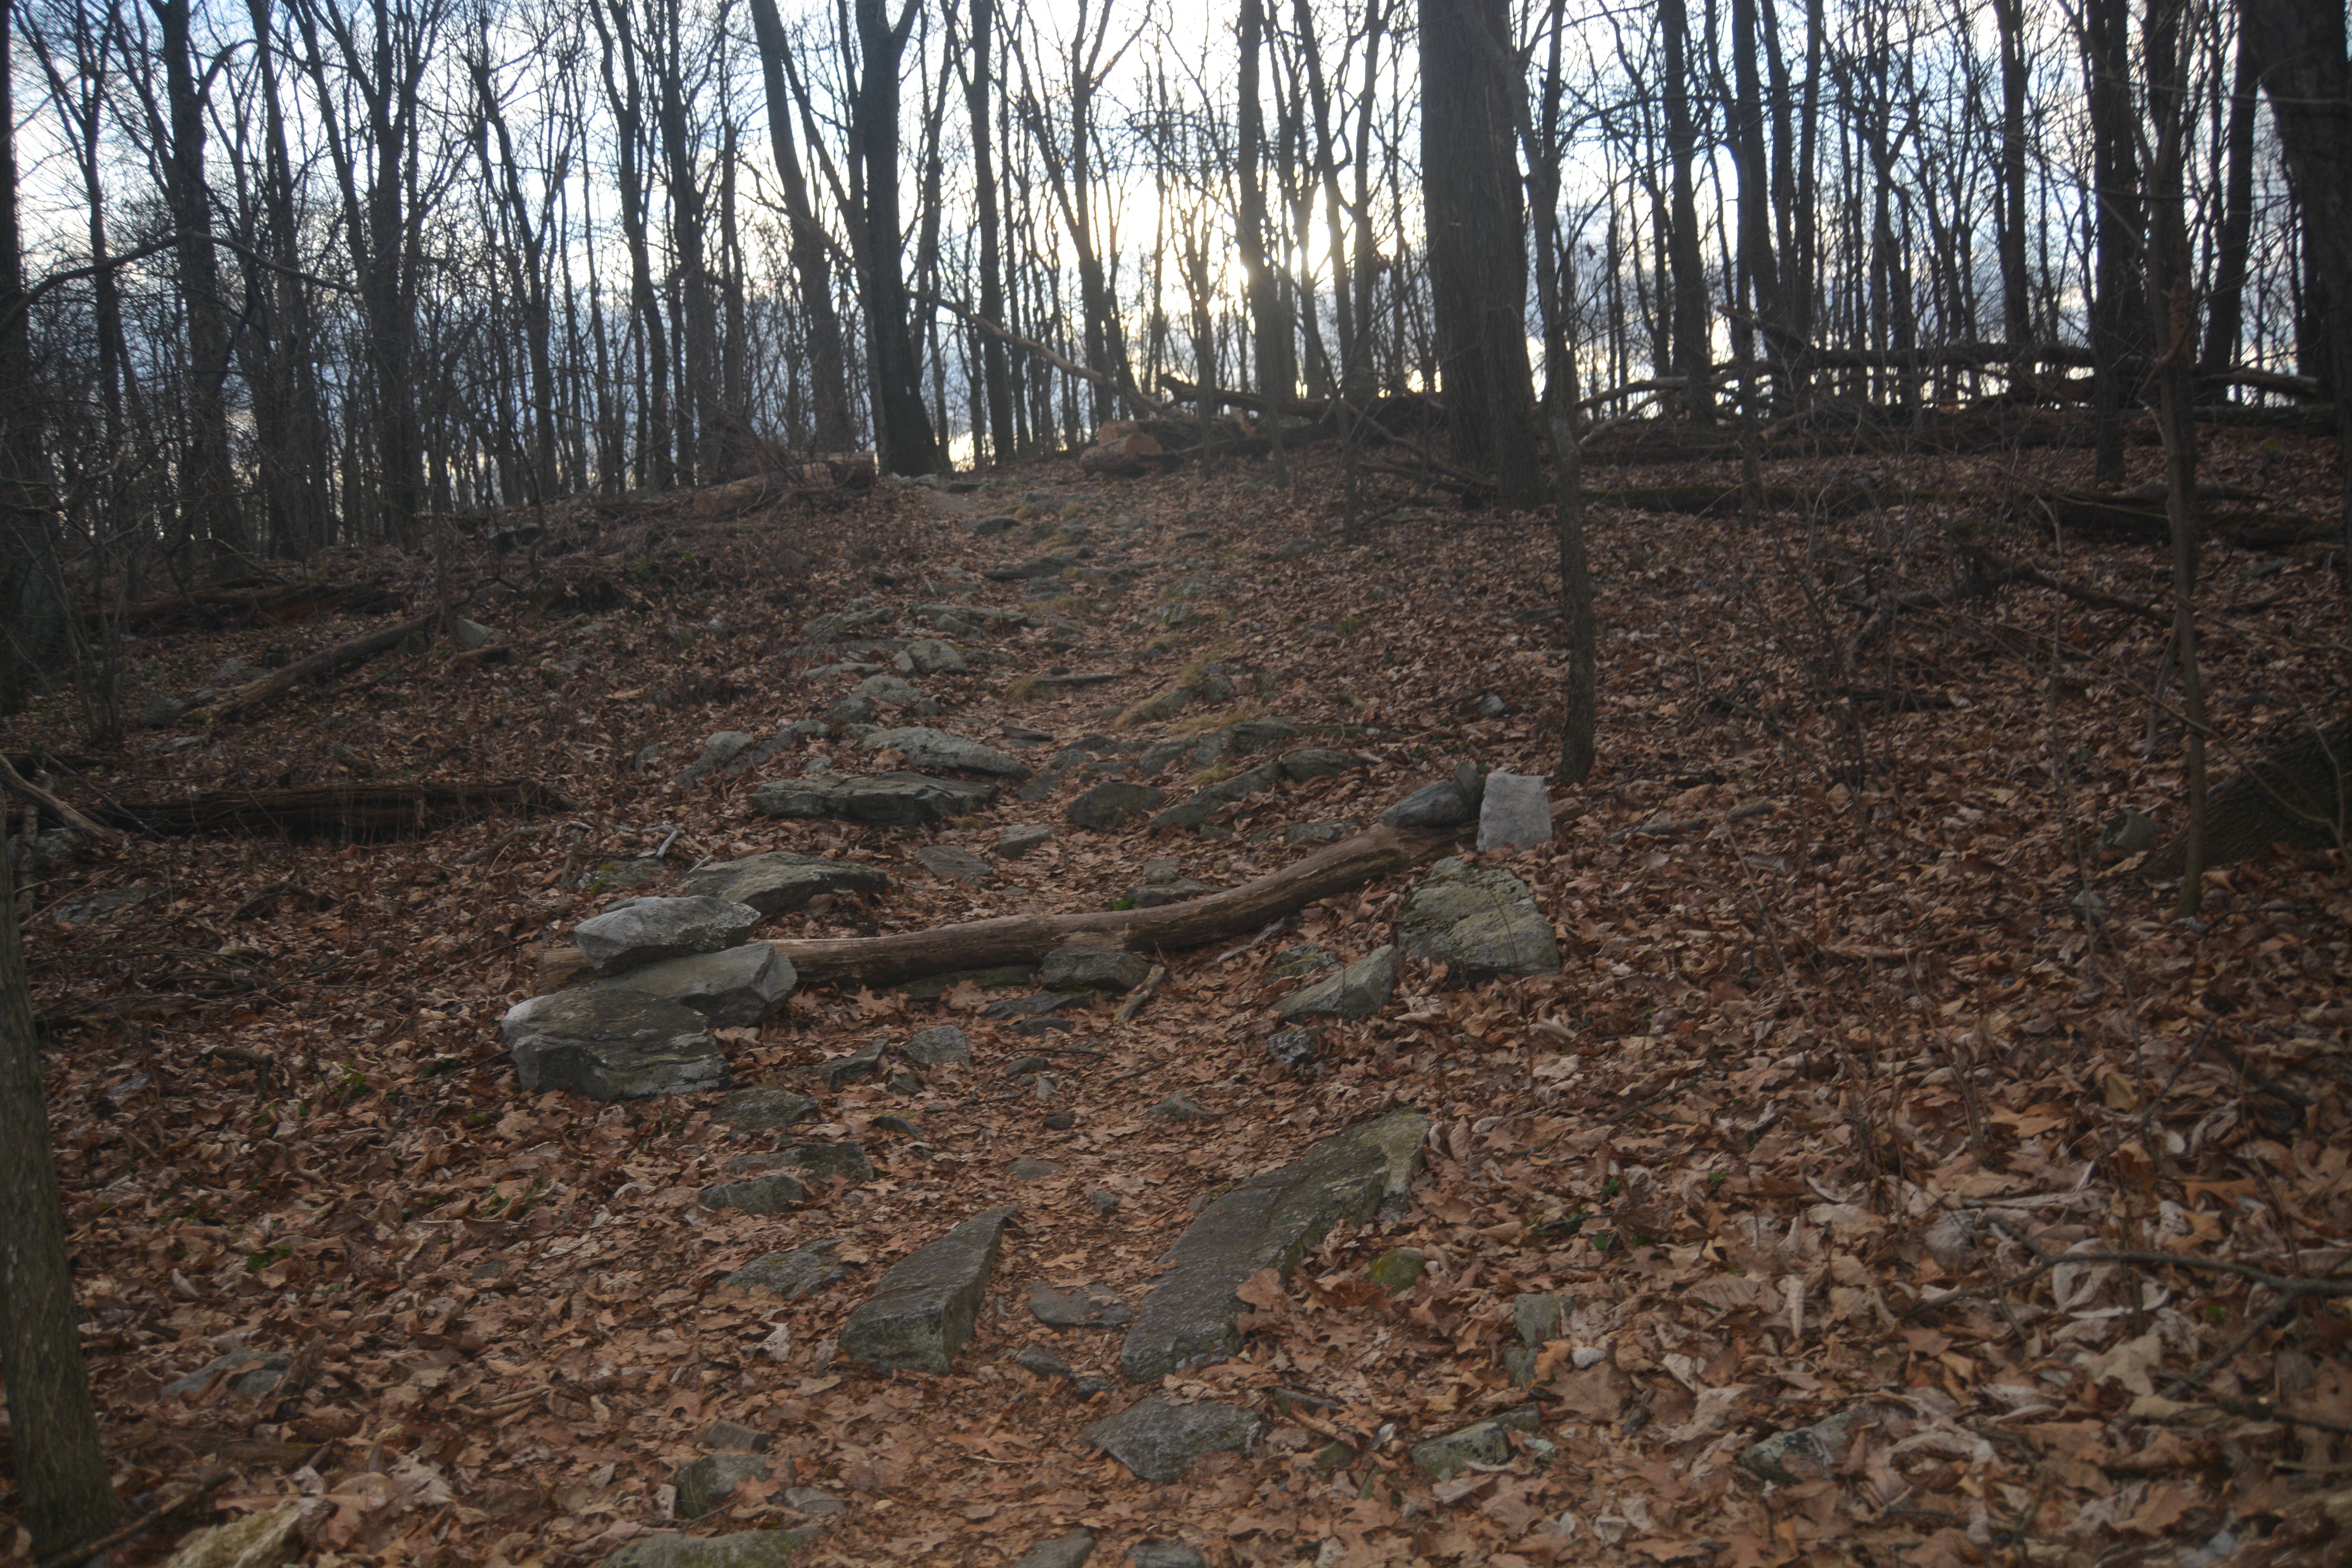
Checkdams are obstructions placed on the Appalachian Trail which hold back the silt that would otherwise erode away and be lost forever. Often hikers believe these are steps but their function is to be a dam and hold back dirt that would otherwise wash away. When used properly and over decades, checkdams can be used to rejuvenate a section of trail that is rutted. More often checkdams are simply used to slow the progression of erosion because the soil building up is coming from an uphill section of the trail so another section is loosing it’s soil in order to fill the dam.
Checkdams on the AT are generally either made of stone or logs. Stone is permanent and are a lot of work to construct but that work is only done once. Laying a log across the AT seems easy but the log only lasts a couple years and must be replaced timely or the effort is futile. So making stone checkdams is better but more time consuming and logs seem easier at the time but may actually be more work in the long term.
The checkdams work by slowing the flow of water which is carrying silt so that the silt (dirt) deposits behind the dam. The water then continues to flow on downhill or seeps into the ground. The buildup of the silt behind checkdams takes time and is only going to collect behind one checkdam so this is a long term, time consuming process that requires commitment. Once one dam fills another can be added and maintainers must watch the older dams for decay replacing any logs that are rotten before they fail completely.
One Checkdam at a Time or A Stitch in Time Saves Nine
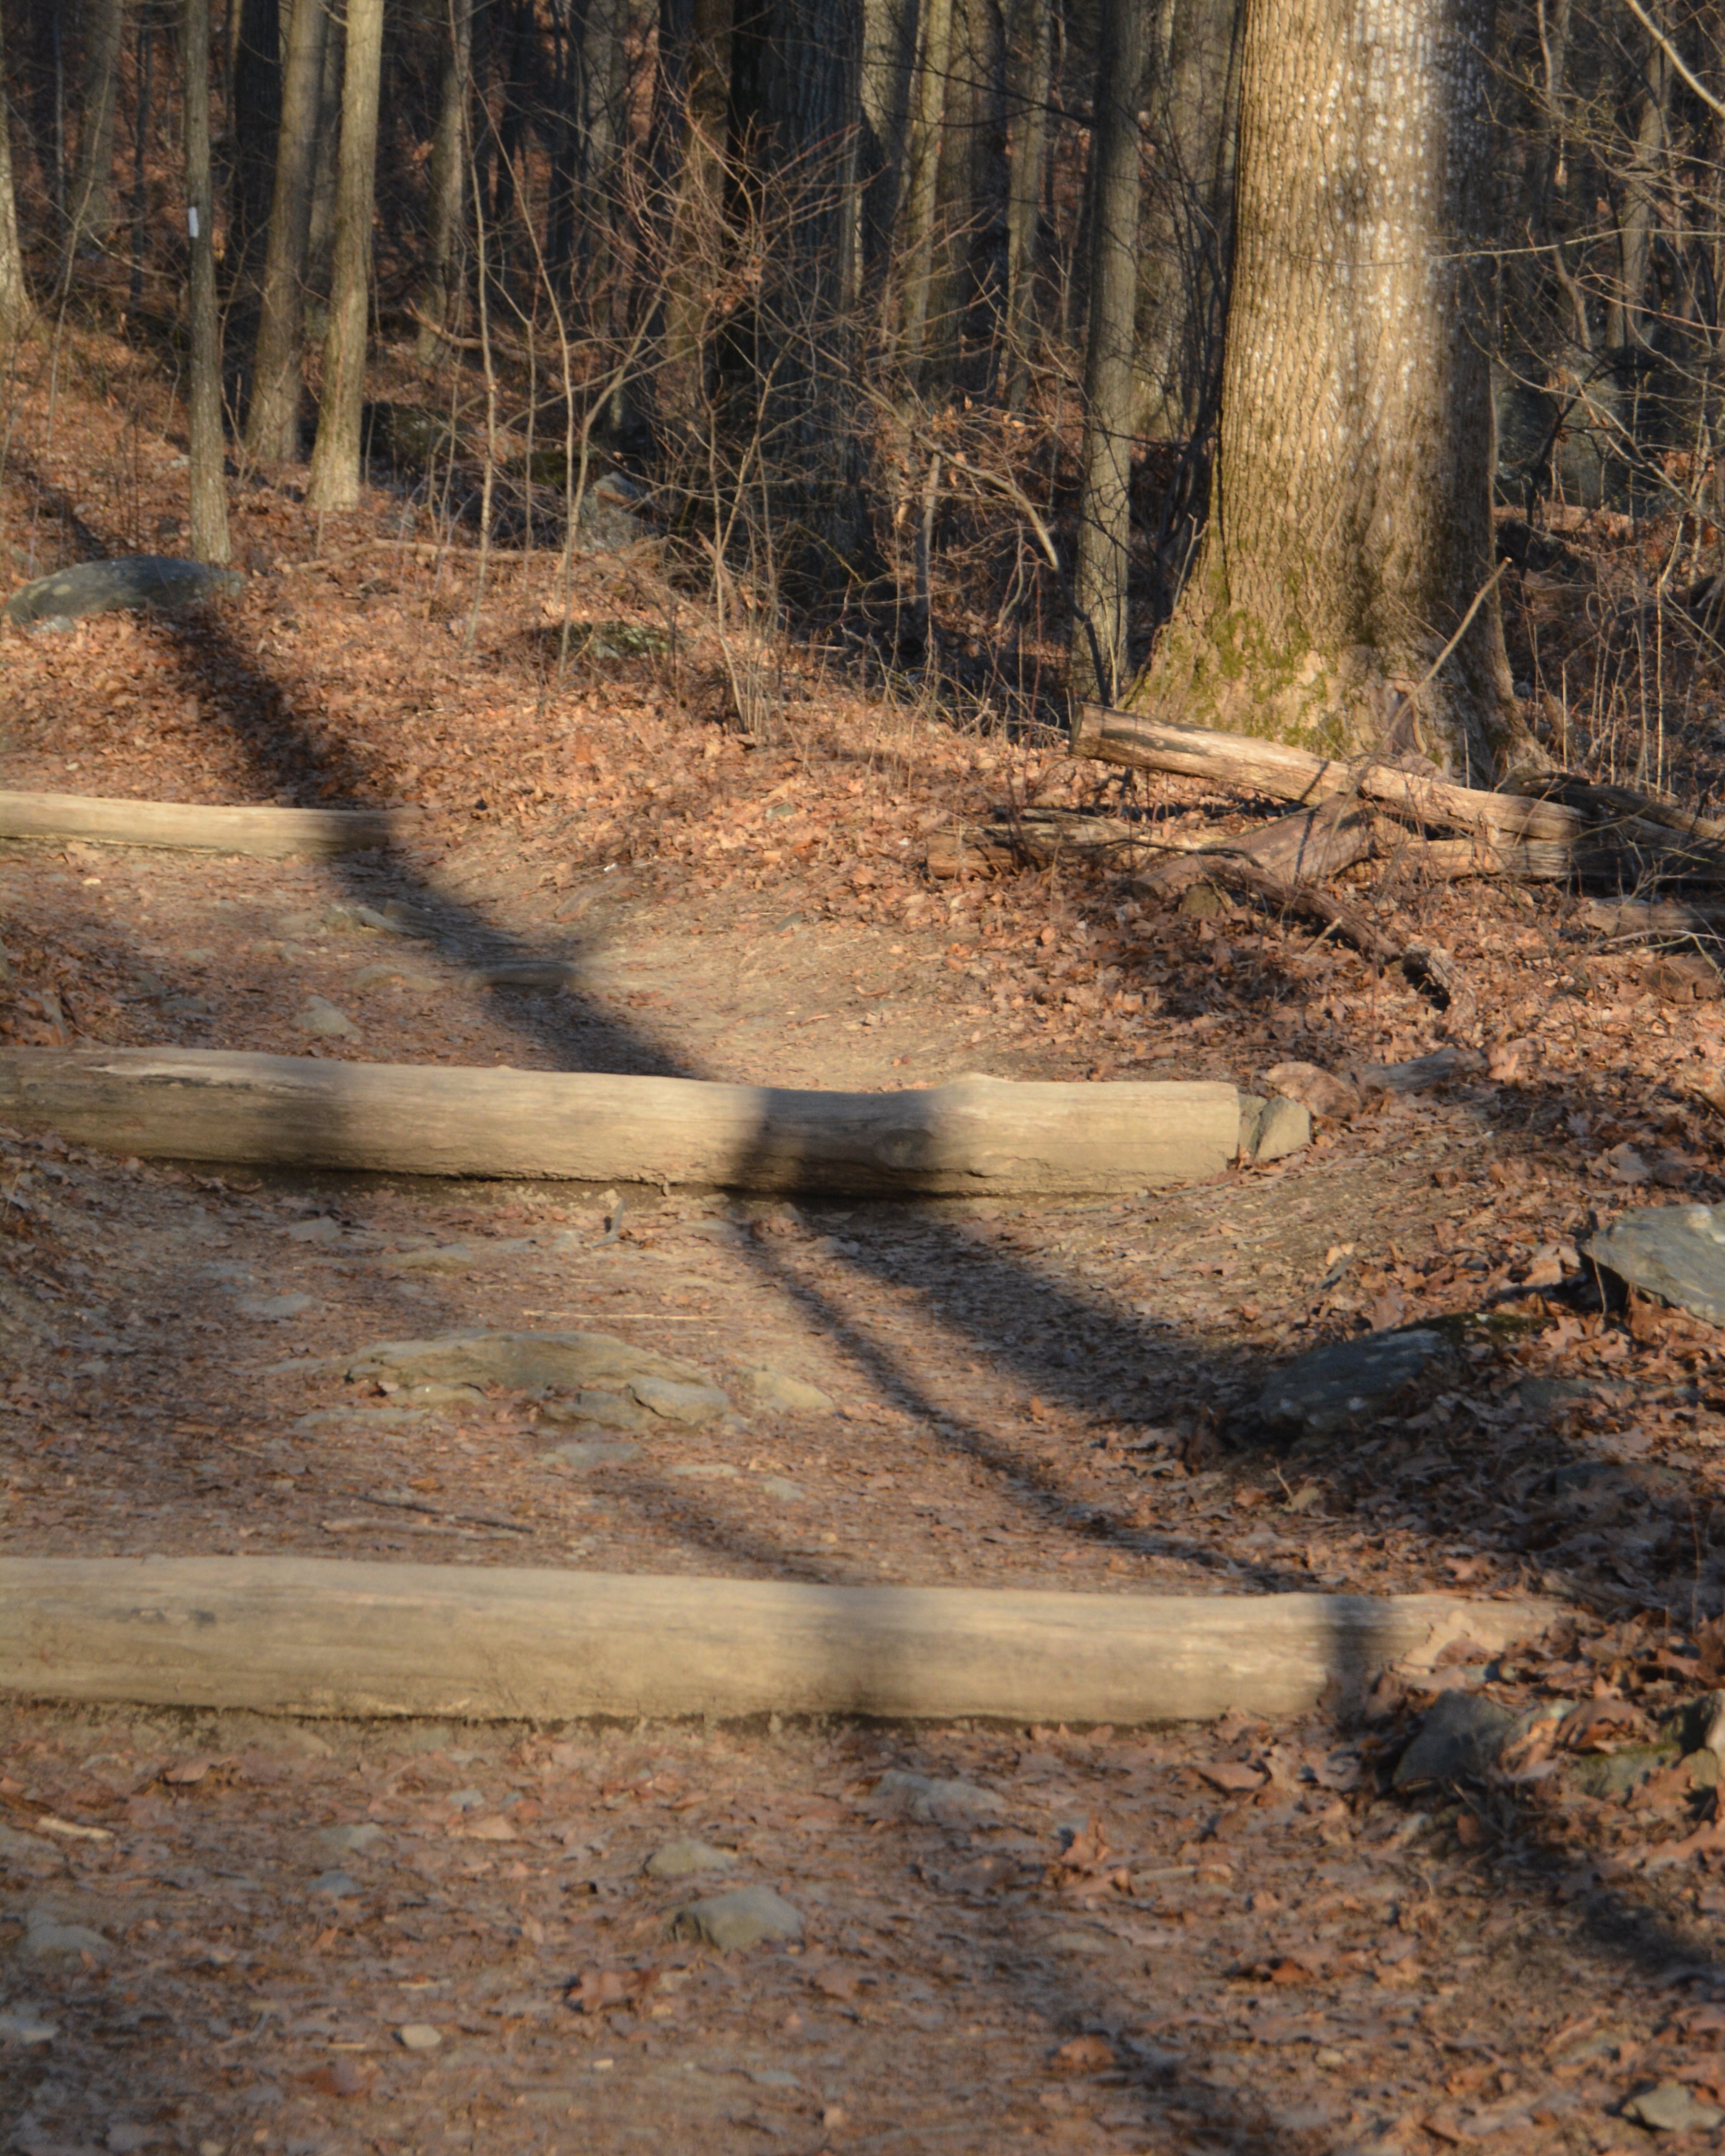
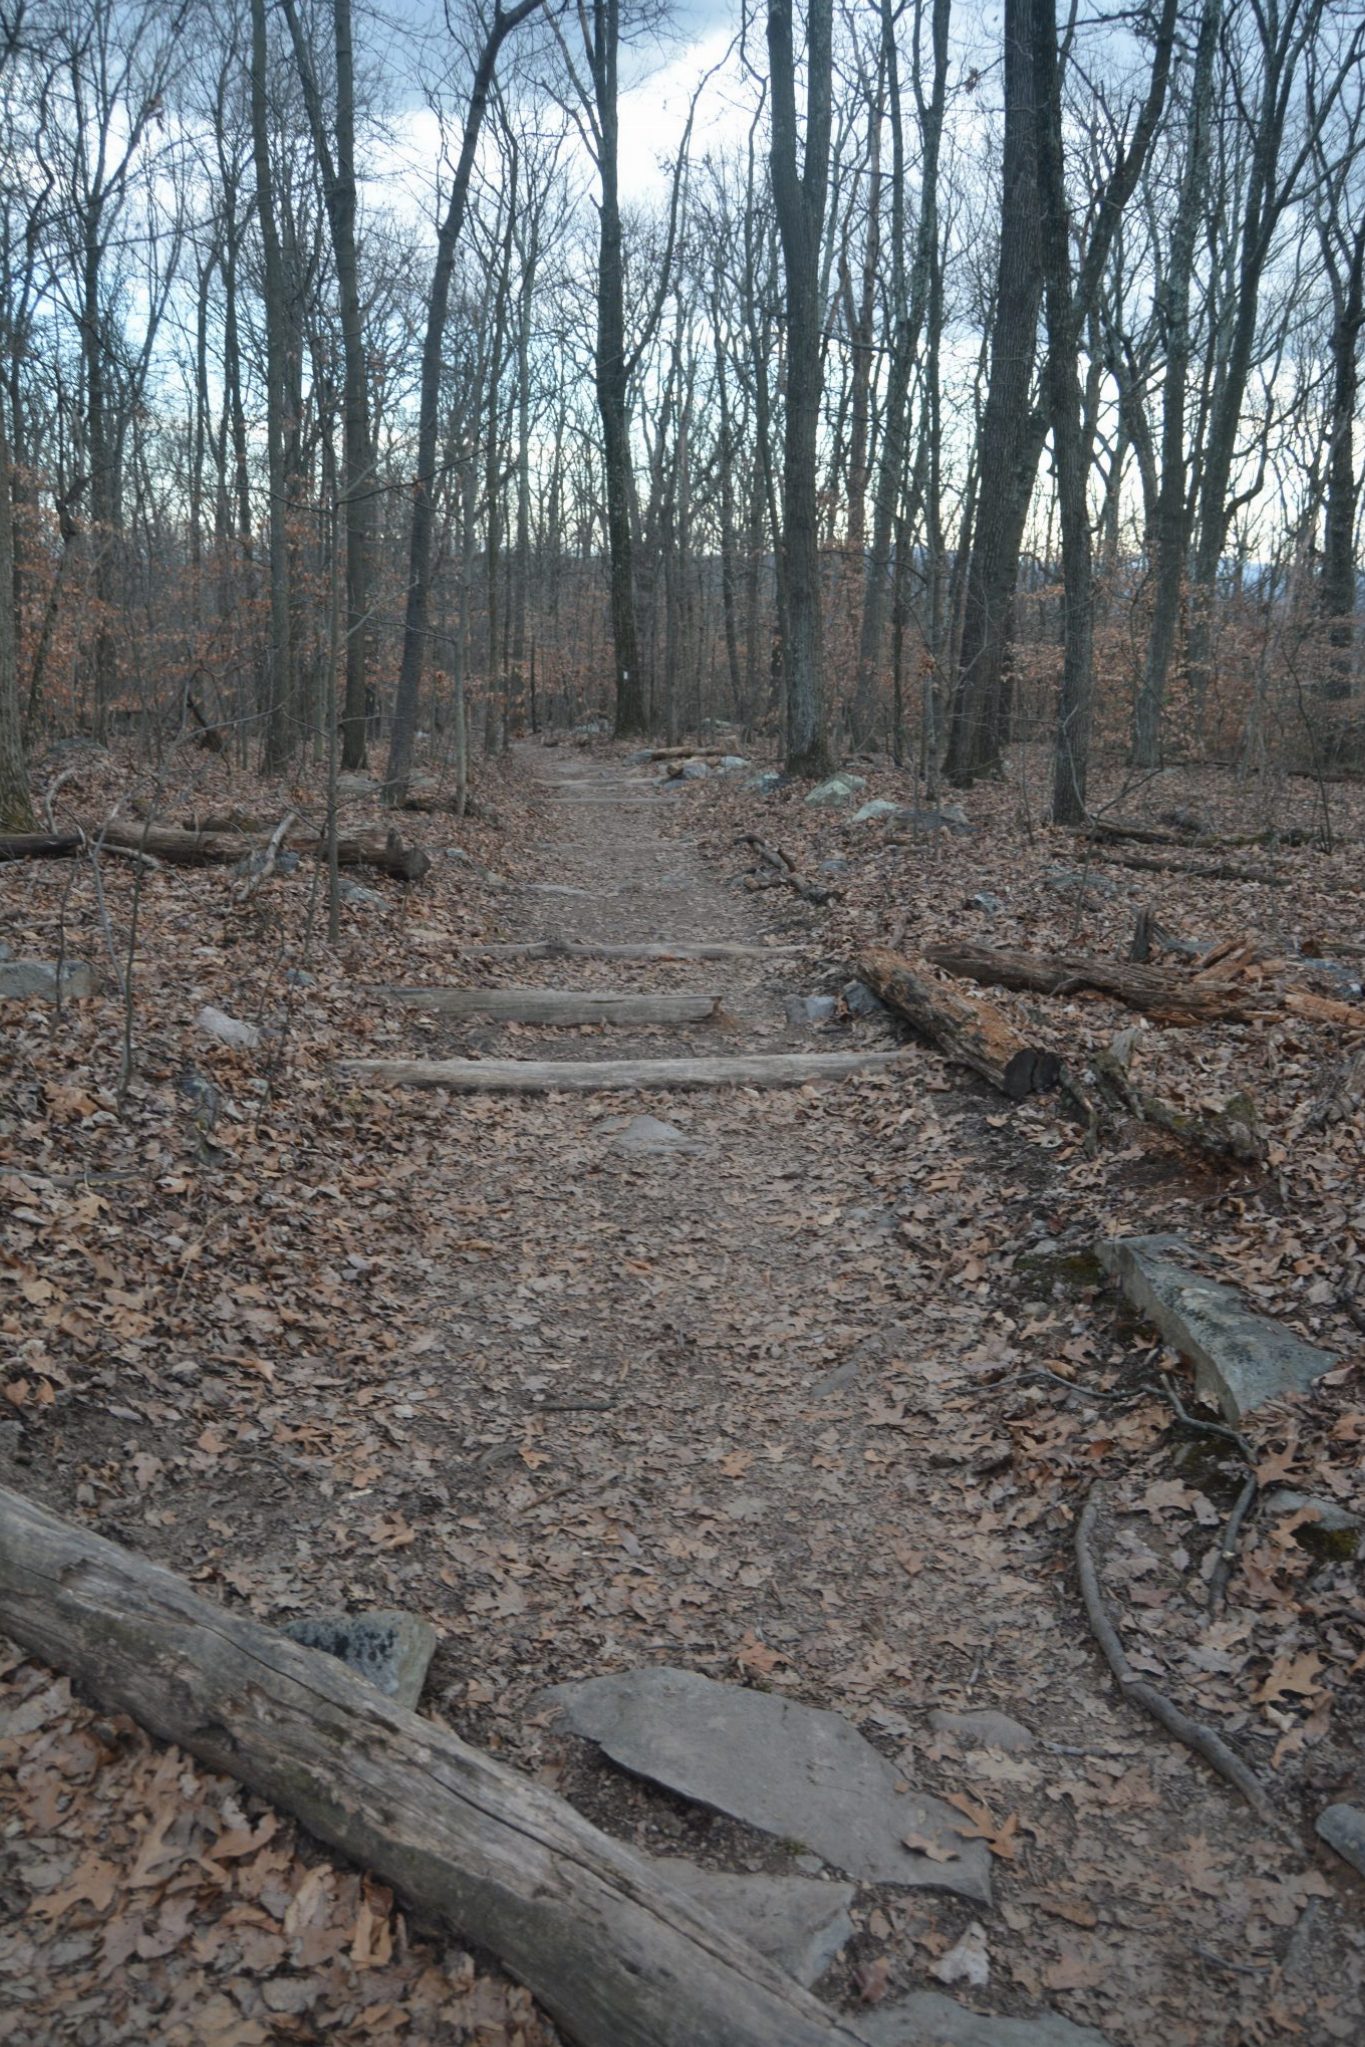
Often new maintainers of the Appalachian Trail will see many checkdams in a row, and try to replicate this too quickly. When you’re walking on the AT and come across these stepped rows of contiguous checkdams it’s usually the result of many years of diligently adding checkdams one at a time by the previous maintainers, and allowing them to fill then adding another checkdam. The well meaning new maintainer might get a little too overzealous and add many checkdams in a row all at once with the belief that this will speedup the process of rebuilding the trail tread. Yet there is only so much silt flowing in the water that can build up and it’s generally going to settle into the first checkdam only. So many times at these series of checkdams the logs will simply rot without any collection of sediment. So the recommended process is adding one checkdam every 60 feet or so, and waiting for it to fill before adding another. It’s simply a waste of effort otherwise.
In the picture below is a closer look at the same location showing the checkdam logs rotting without filling.
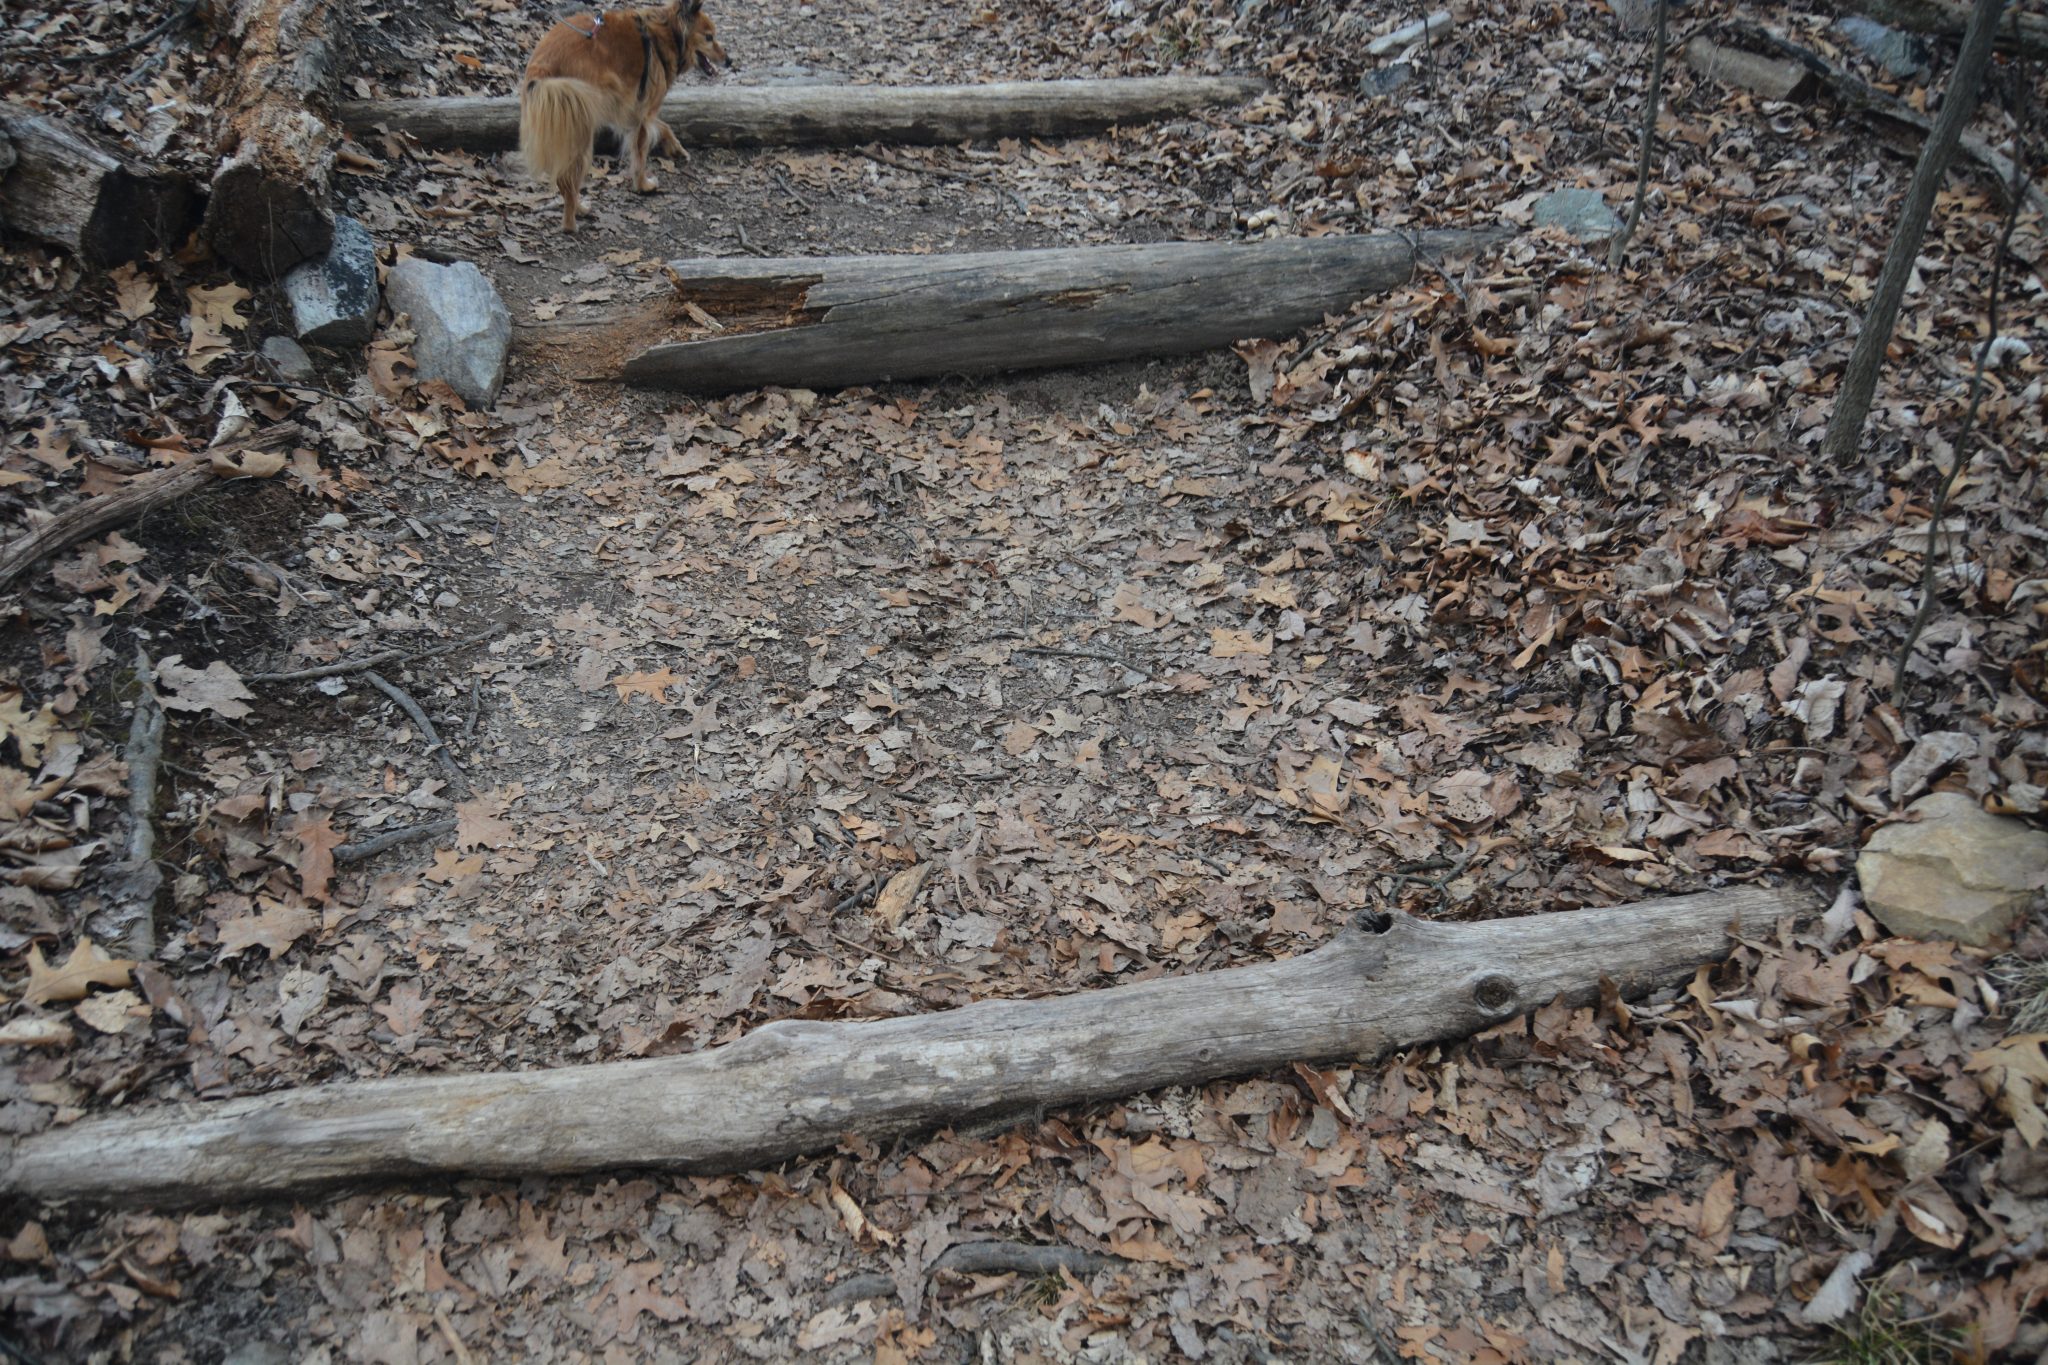
This picture is of a place on the AT with many checkdams placed in a row. This is an obstacle course to walk over and does no good for erosion. Besides doing no good since they are simply placed one after another and will simply rot away – it’s ugly and difficult to walk over. There is probably no harm done to the trail except for ugliness and stated in economic terms, there is lost opportunity costs in that the effort could have been applied elsewhere more useful.
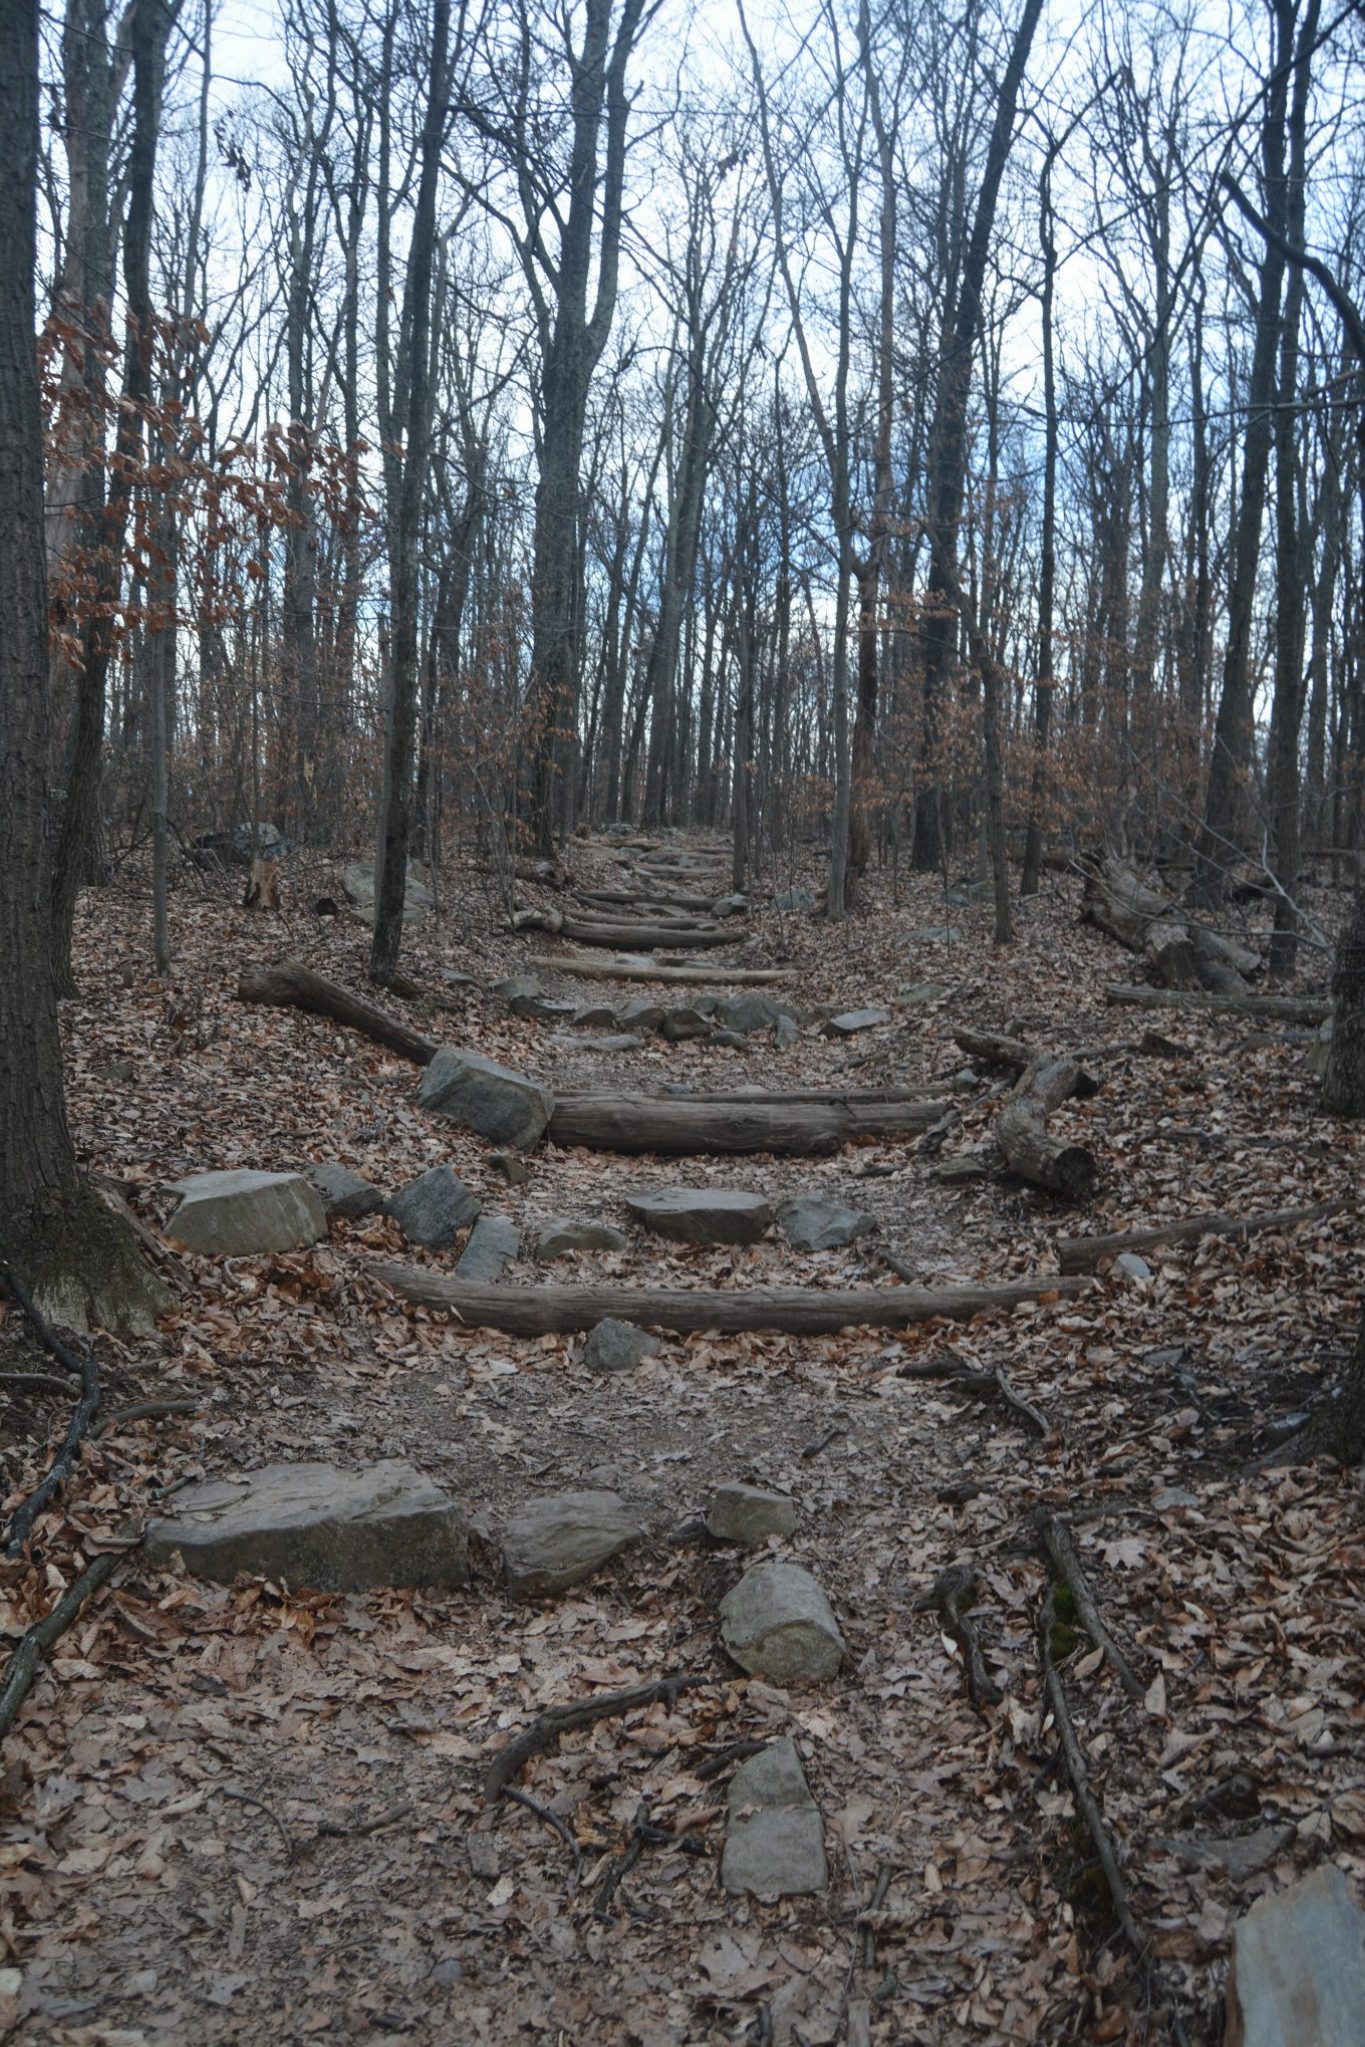
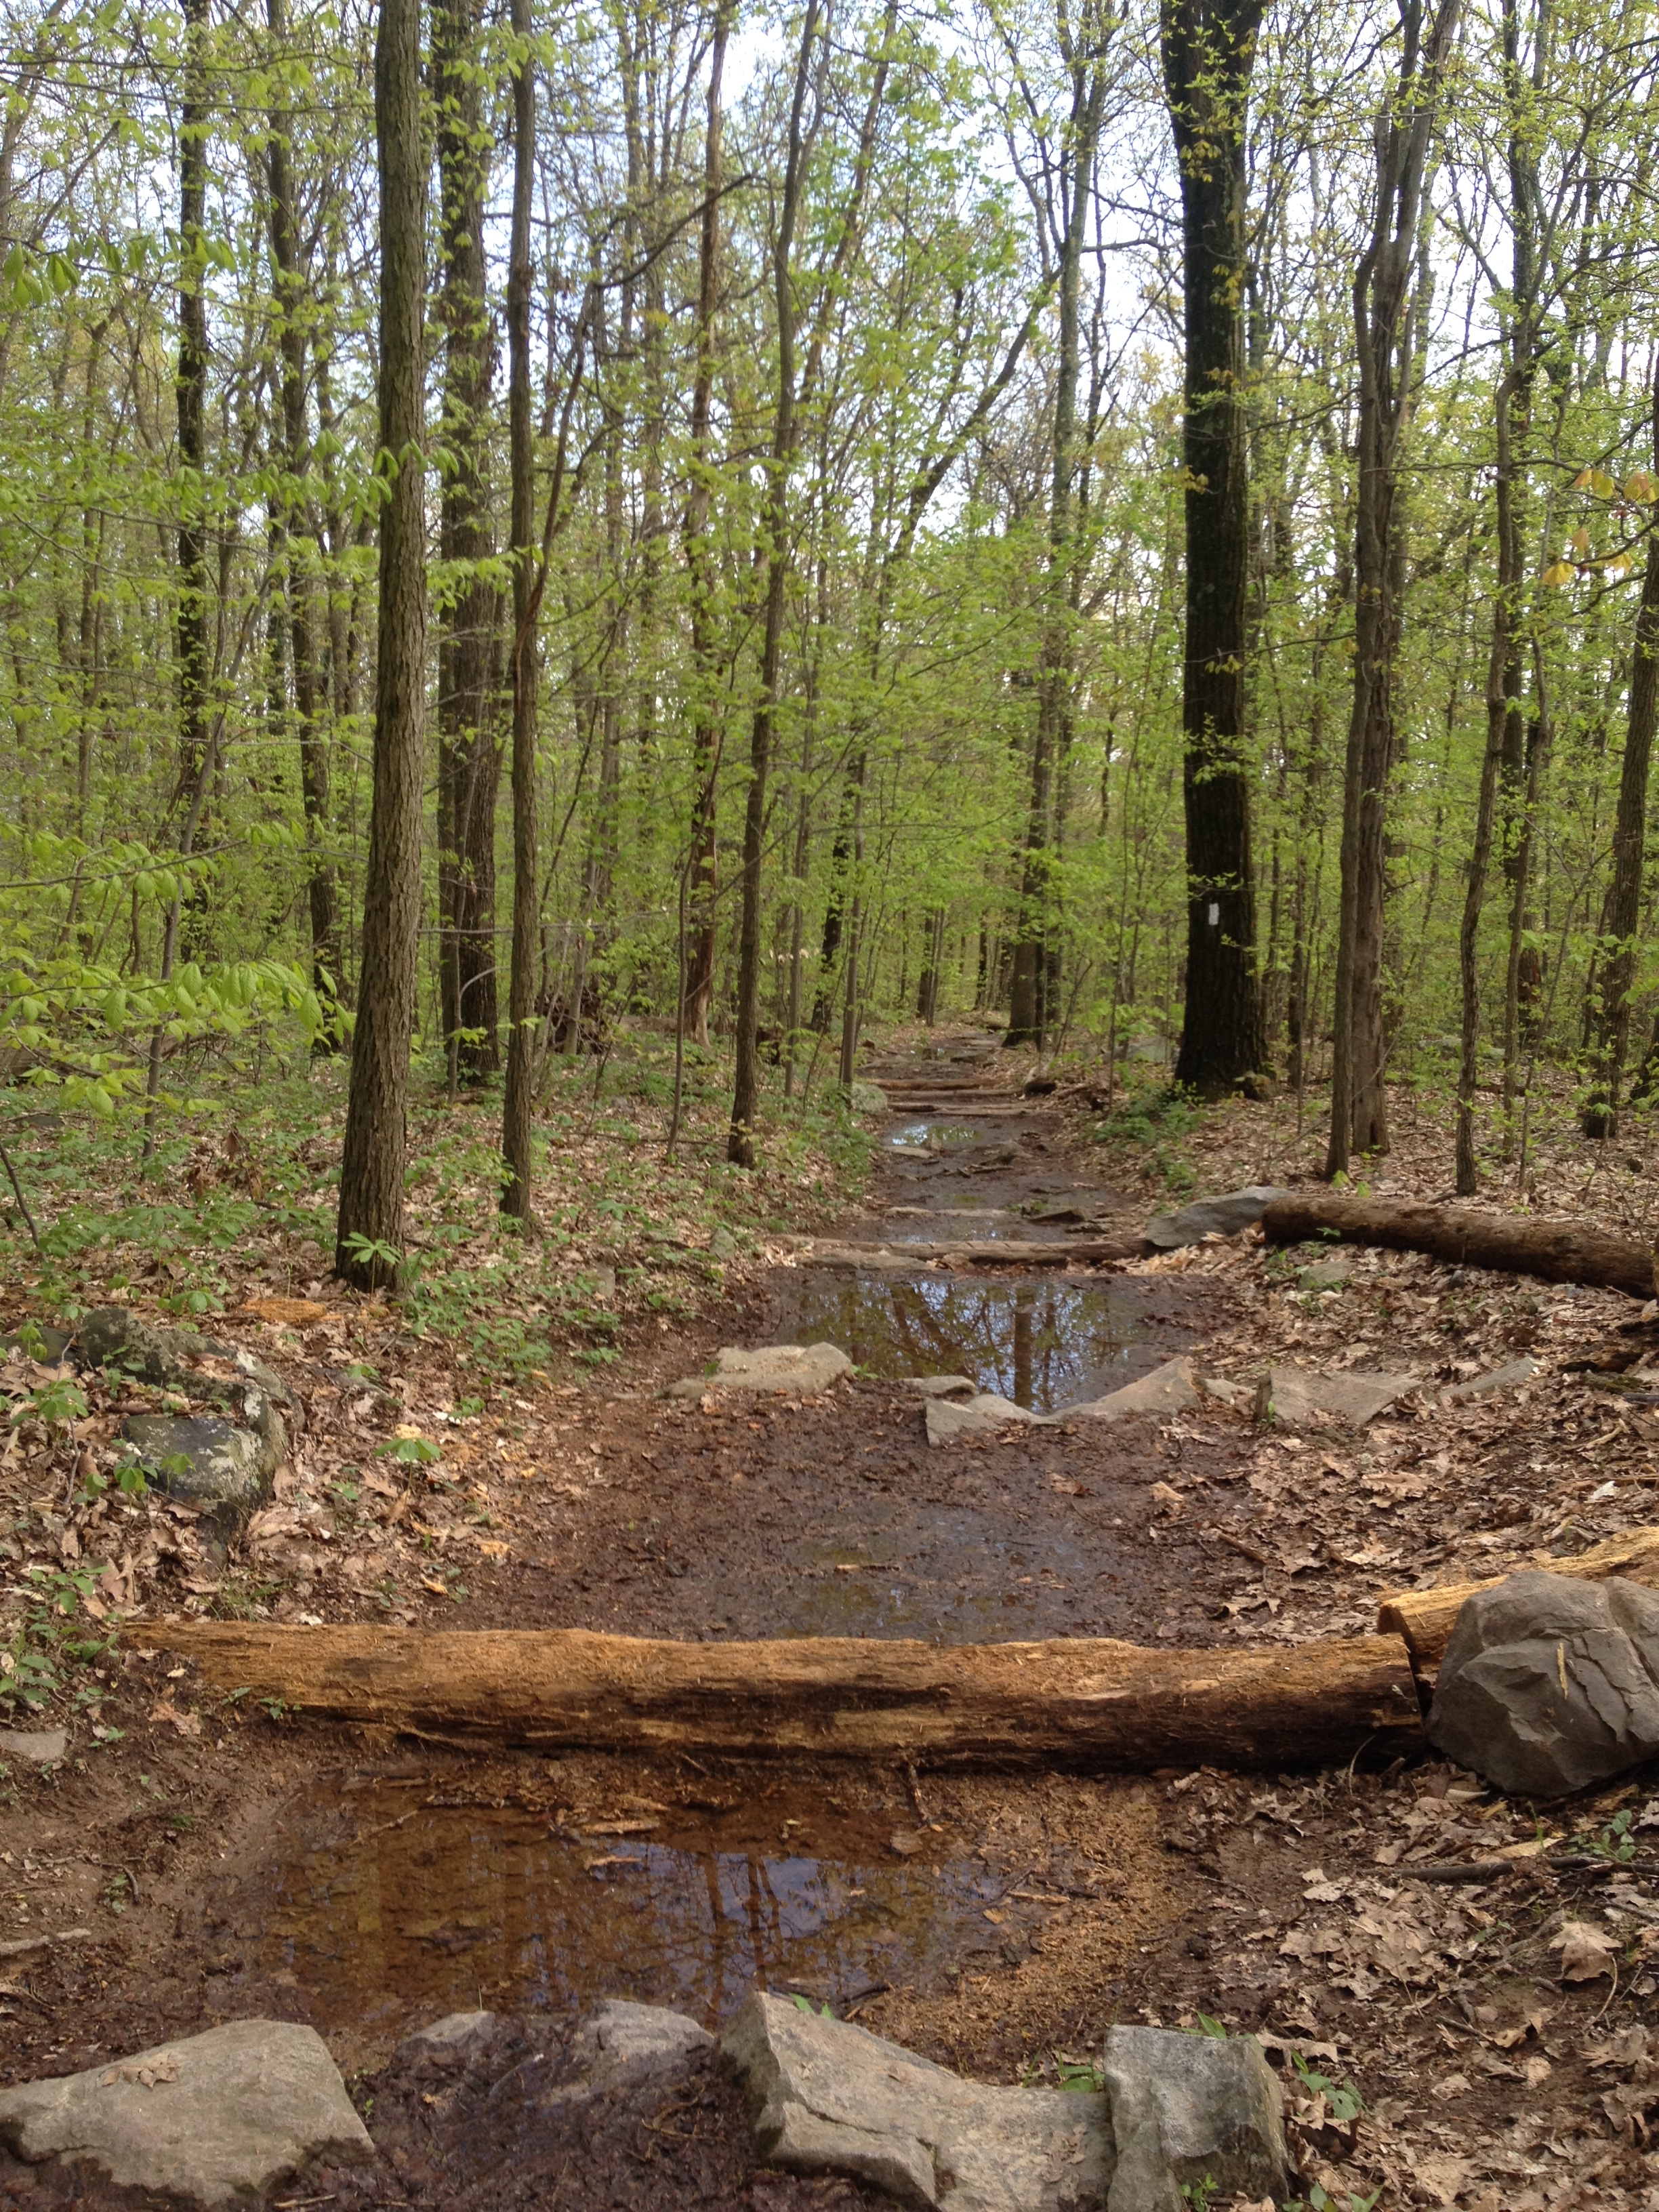
Perhaps even worse in these lonely hearts club checkdam sections, a little sediment will build up and block drainage so the dams simply hold water back and become pools. In severe cases, hikers will avoid these ponds by walking to the sides of the AT causing the trail to widen further and worsening the erosion problem rather then reducing it.
Stopping Erosion Means There Must Be Some Erosion Occurring
As already mentioned, the silt that is building up in the checkdam is coming from the Appalachian Trail itself just uphill of the checkdam. So that 6 inch deep by 7 foot wide by 8 foot long section of soil behind the checkdam is actually from the tread in the 100 feet or so above the checkdam. You probably won’t notice the loss of a 1/4 inch of soil over such a long stretch but that is what is happening. A functional checkdam is placed in a location where there is active erosion in order to slow the process of erosion down. Placing a checkdam directly following a waterbar, which directs water away from the trail, will do little good because the soil and water have been redirected from the trail just above the checkdam. So this means that when installing checkdams, that waterbars are placed downhill of the dams as the water must flow into the dam with sufficient speed to carry silt, slow in the level dam dropping the payload of silt, pass on and finally get redirected away from the trail. So generally the two main methods of erosion control, checkdams and water bars are mutually exclusive although a water bar can be effective following a check dam but not visa-versa.
There is one other location where checkdams are of benefit and that is on steep grades where the foot traffic loosens the trail tread and the silt is push downhill either by the soles of boots, gravitation or rain. It’s these locations that hikers often confuse the erosion control function of checkdams with them being steps. A checkdam at this locations can function quite well with little or no water, and can immediately follow a waterbar as the movement of soil to fill the checkdam is the result of the base of hikers feet.
Where not to install check dams:
- Too close to a waterbars. Waterbars direct water away. Checkdams need water to carry in the silt and dirt. Waterbars follow checkdams. A checkdam too closely following a checkdam with sit lonely and empty.
- On a well drained soil section where water is simply draining away. Remember, checkdams work by slowing down water so the soil stops moving and deposits there. With no water, the checkdam is just an impediment.
- One after another. In most cases, install one checkdam at a time and watch what happens before adding more. Simply adding checkdams one after another is a waste of effort as the first one will collect the soil and others sit empty. There are exceptions to every rule, such as steep slopes in highly used sections, so that’s why you should observe how the checkdam is operating to see if adding another would help reduce erosion more or simply site empty and look ugly.
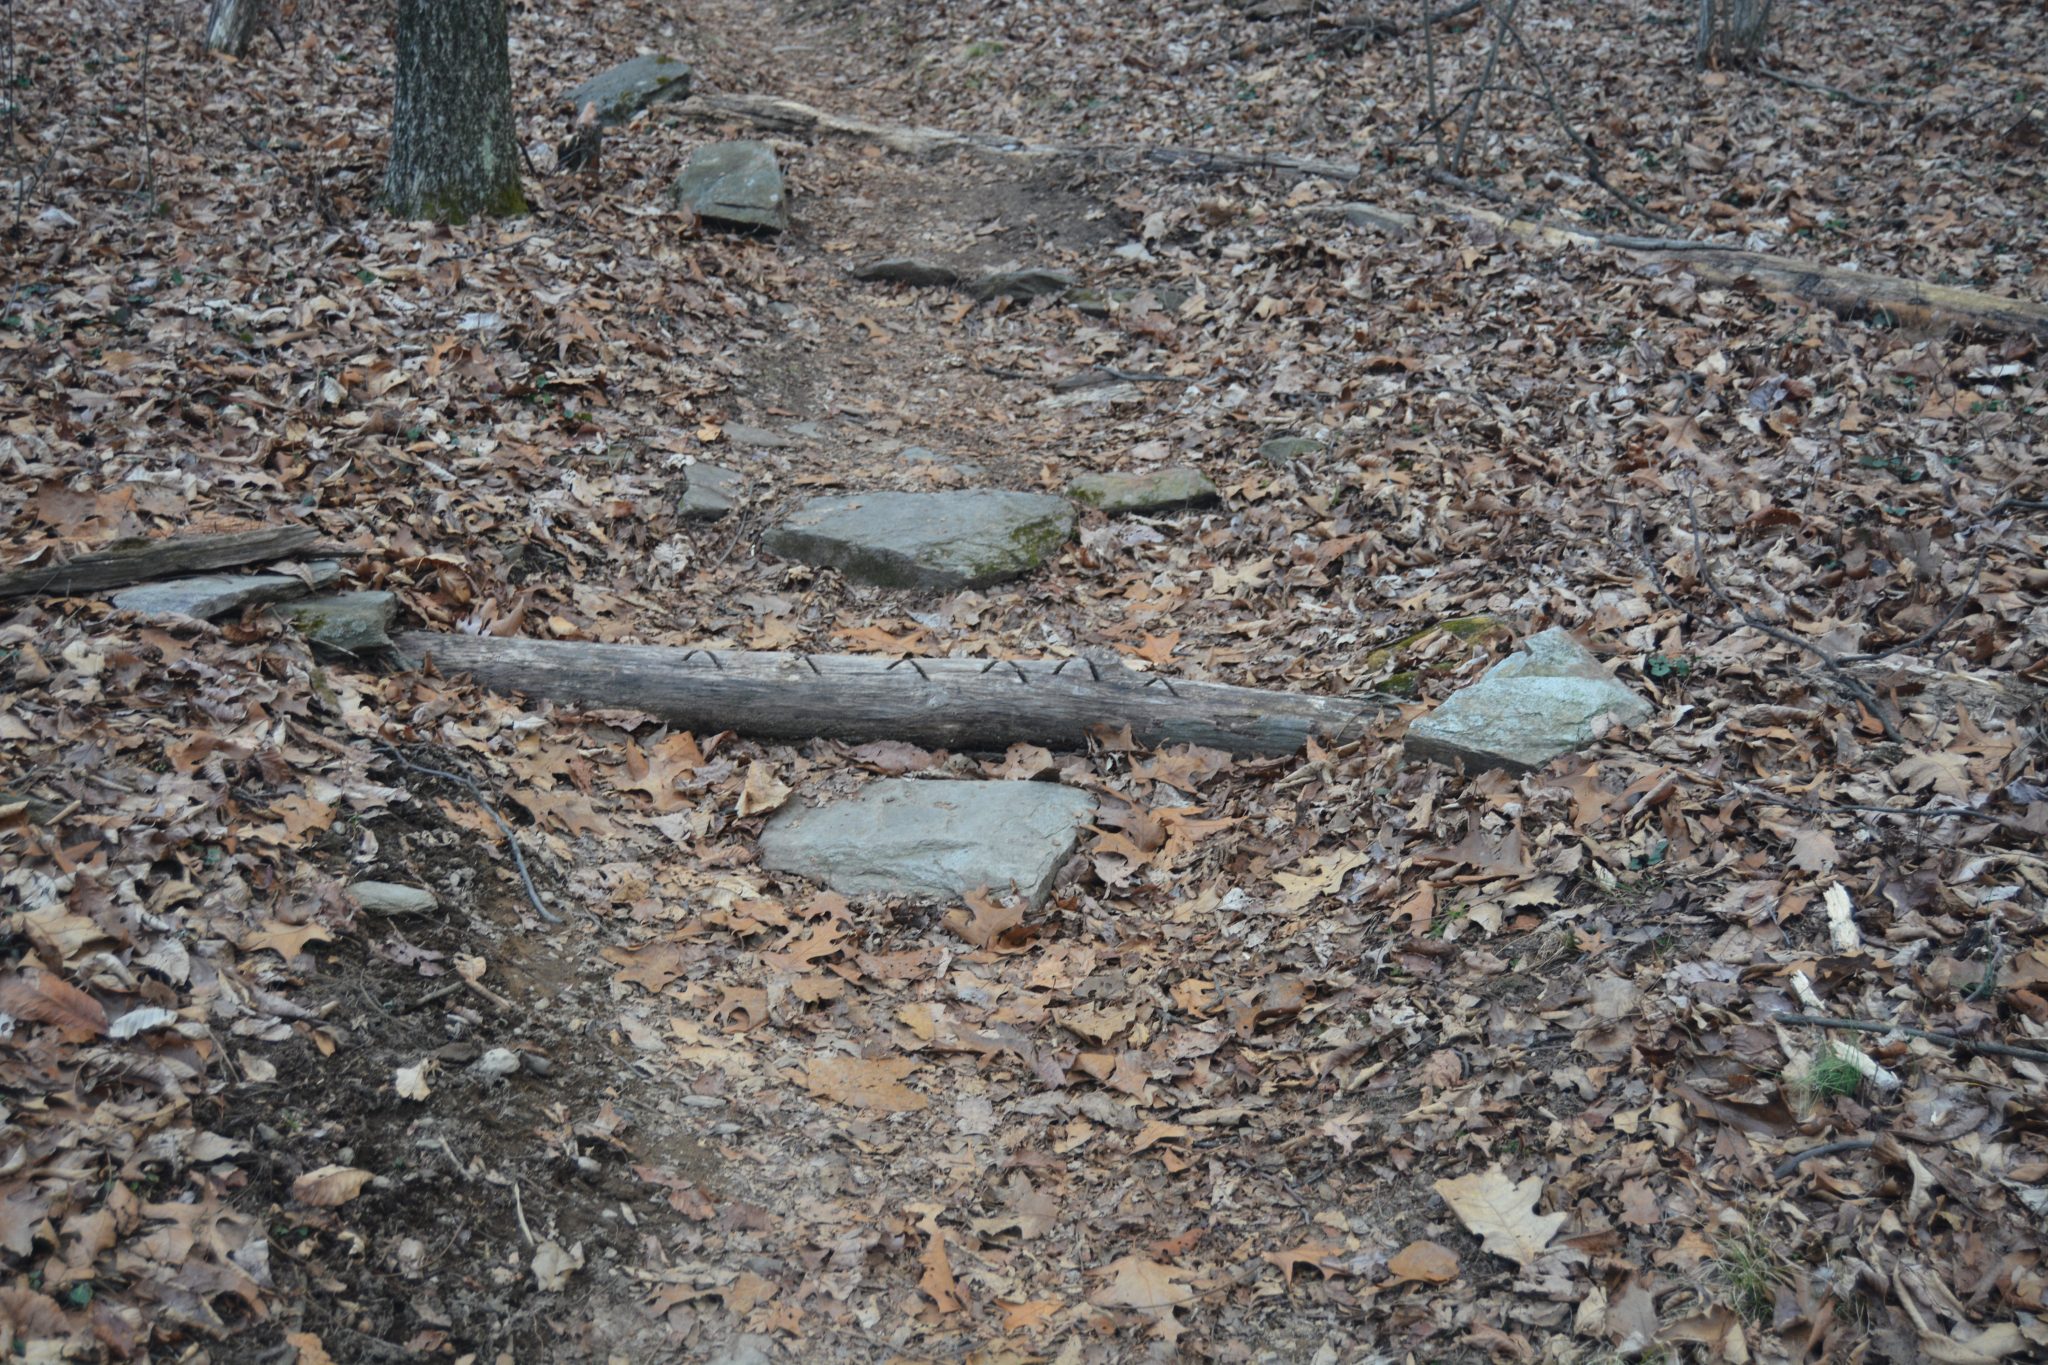
This picture is of a many year old checkdam that was placed directly downhill of a waterbar and has not (and will never) fill because the water has been efectively removed by the waterbar. This is simply a trip hazard.
Some folks install checkdams for checkdams sake – meaning they get placed in a location where they do no good as there is no flow of water and are nothing more then something to step over. The following picture is of a checkdam on a hill side on well drained rocky soil. This is on a busy section of the AT and you can tell it’s well drained as the leaf litter is laying on the tread and there are no signs of erosion visible. Rain water here simply drains into the soil.